Thai Cha-Om Omelette Recipe (Acacia Leaves Egg)
As an Amazon Associate, I earn from qualifying purchases. Read the full disclosure here .
This easy Thai cha-om omelette is ready in about 20 minutes and uses just eggs, a handful of acacia leaves, staple seasonings, and a hot pan.


Kai jeow cha-om
The Thai name for this dish is kai jeow cha-om (ไข่เจียวชะอม), which simply means omelette with acacia leaves. It’s especially popular in Isan, Northeastern Thailand.
It doesn’t ask much from you, which is exactly why it’s so loved. If you can whisk eggs and flip an omelette, you can make this.
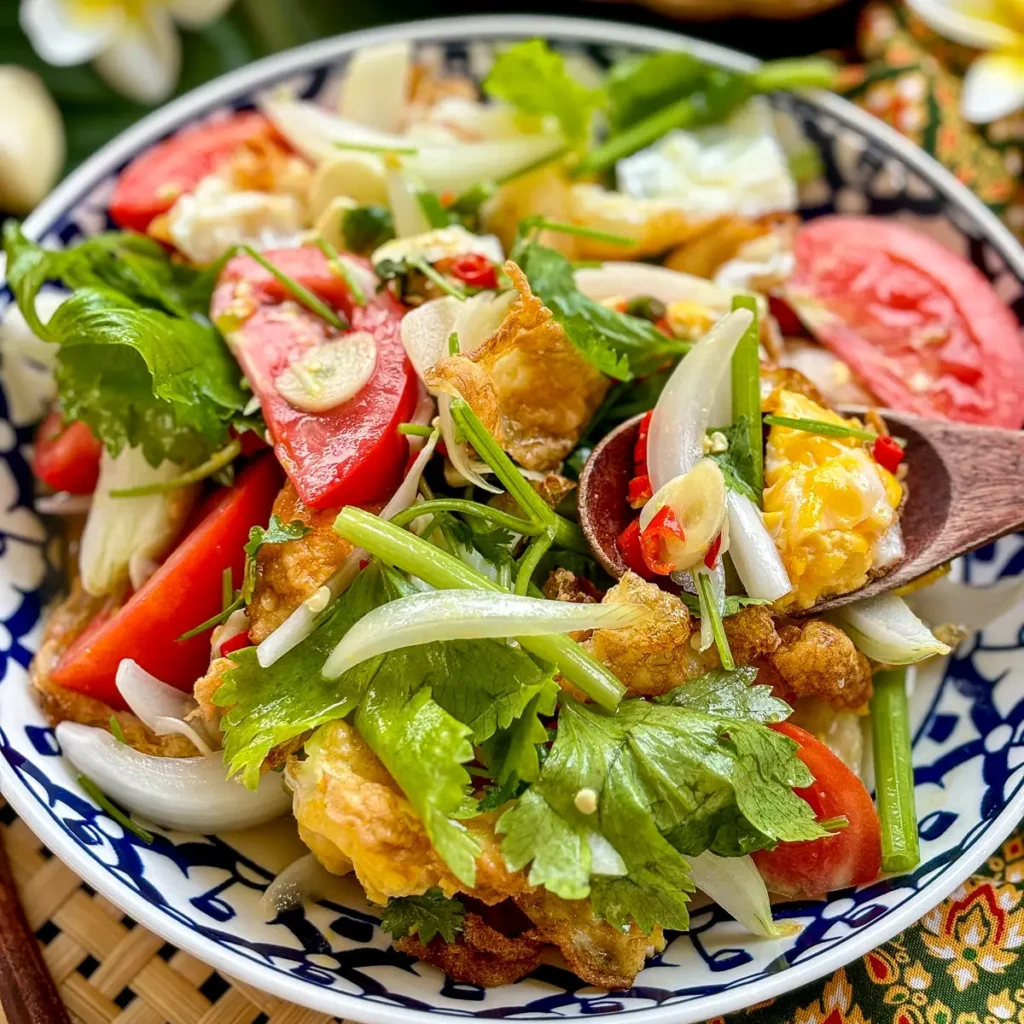
It’s seasoned with fish sauce and oyster sauce, mixed with chopped cha-om, then fried until golden with crispy edges and a soft center. You can add more or less cha-om depending on how strong you like the flavor.
In Thailand, it’s often eaten for breakfast or as a simple side, but it’s also filling enough to enjoy with just jasmine rice.
Praew ♡

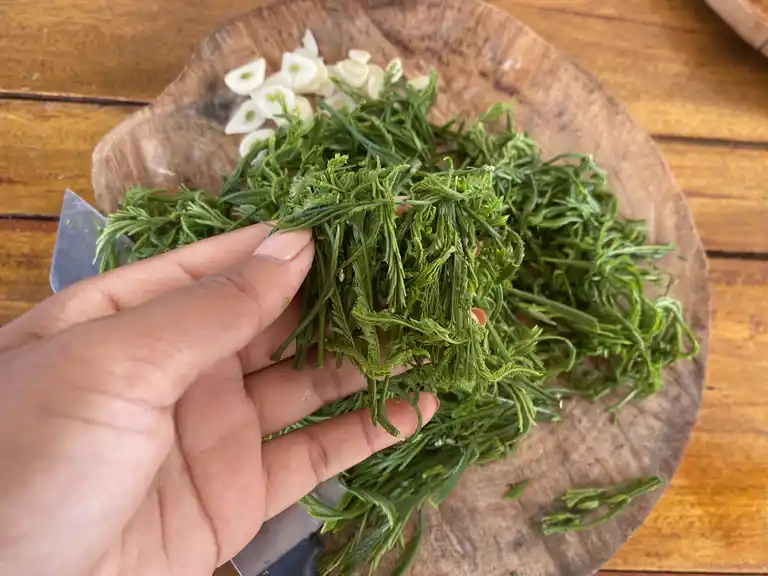
What is cha-om?
Cha-om is a tropical herb native to Southeast Asia, often used in Thai cooking. It has thin, feathery green leaves with a strong, pungent aroma and slightly bitter taste that softens when cooked, especially in omelets, curries, and soups.
Some people even call it stinky leaf, which sounds dramatic, but don’t worry, once it’s cooked that strong smell completely disappears.
What’s left is a slightly bitter, savory flavor that works great with eggs.
If you enjoy Thai-style omelettes, you might also like my minced pork omelette or my crab omelette.
Learn Thai cooking step by step
My cookbook is a combination of authentic Thai recipes and Western dishes cooked with Thai flavors and ingredients. It’s a great starting point if you’re new to Thai cooking or want to cook it more often.

Ingredient notes & substitutes
You can find everything at Asian grocery stores or markets. See the recipe card for the exact measurements.

- Acacia leaves: Fresh cha om or frozen both work. If frozen, thaw and squeeze out excess water.
- Eggs: I usually use 3 eggs per person for a satisfying omelet.
- Garlic: Finely minced.
- Oyster sauce: Gives the eggs a subtle sweetness and rich umami.
- Fish sauce: Adds saltiness and depth. I recommend the Megachef brand.
- Fresh lime juice: Optional, but highly recommended.
- Oil: Such as vegetable or canola oil, for frying.
How to make cha-om omelette
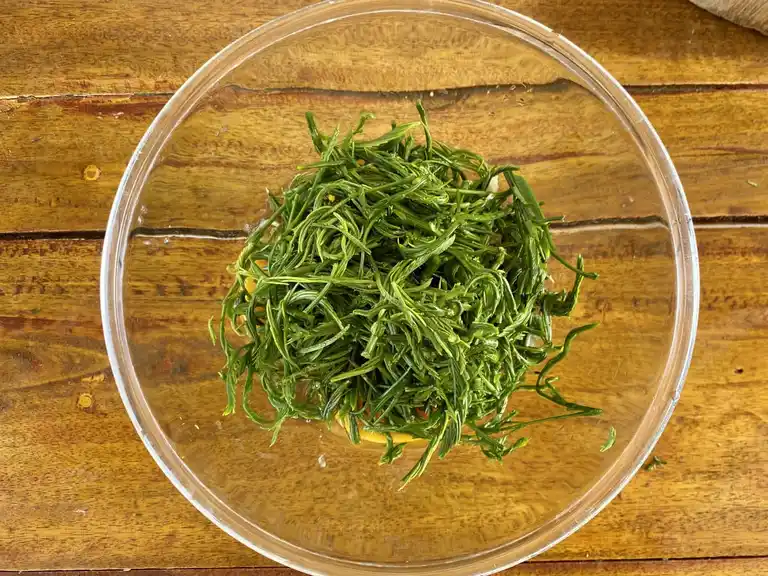
- Prep the aromatics. Mince the garlic and roughly chop the cha-om into shorter pieces.
- Mix the eggs. Crack the eggs into a bowl. Add the cha-om, garlic, fish sauce, oyster sauce, and a little lime juice. Mix well.
- Sauté the garlic. Heat oil in a non-stick pan over medium-high heat. Add the garlic and let it turn fragrant, about 20 seconds.

- Cook the omelette. Pour in the egg mixture and spread the cha-om evenly.
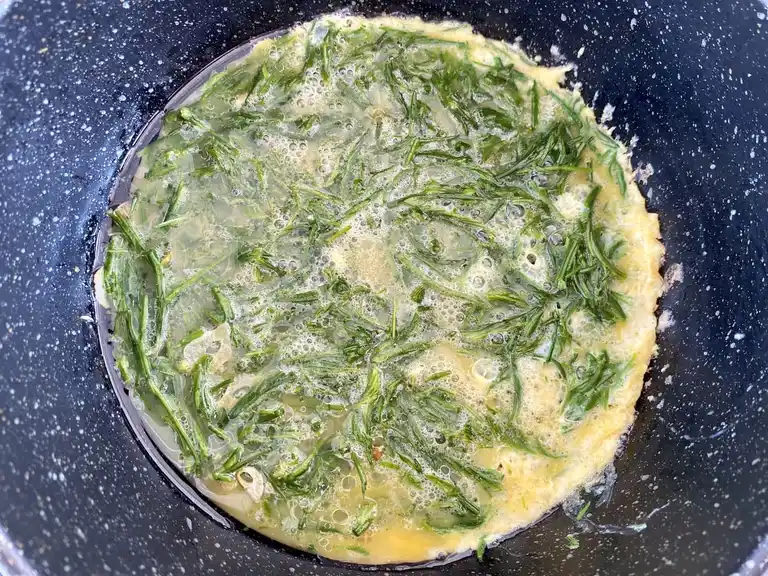
- Finish and flip. Let it cook until the bottom is set, then carefully flip and cook the other side until cooked through. Transfer to a serving plate and enjoy!

How it’s served in Thailand
In Thailand, this omelette is often served with sticky rice and a spicy chili dip on the side, like nam prik kapi. You tear off a piece of omelette, grab a bit of rice, dip, and eat.
How to store & reheat leftovers
- Refrigerate: Let the leftovers cool, then store them in an airtight container in the fridge. Use within 1 day. The texture is best when it’s fresh.
- Reheat: Warm gently in a pan over low heat until just heated through. If using a microwave, reheat in short bursts to avoid drying out the eggs.


Thai Cha-Om Omelette Recipe (Acacia Leaves Egg)

Equipment
- Measuring spoons
- Cutting board & knife
- Mixing bowl
- Non-stick pan or wok
- spatula
Ingredients
- 2 tbsp oil
- 1 clove garlic, minced
- 3 large eggs
- 2½ cups loosely packed acacia leaves, roughly chopped
- 1 tsp fresh lime juice
- ½ tbsp oyster sauce
- 1 tbsp fish sauce
Instructions
- Prep aromatics: Mince garlic and roughly chop the cha-om.
- Mix eggs: Crack eggs into a bowl and add cha-om, garlic, fish sauce, oyster sauce, and lime juice. Mix well.
- Sauté garlic: Heat oil in a non-stick pan over medium-high heat. Add garlic and cook until fragrant, about 20 seconds.
- Cook omelette: Pour in the beaten egg mixture and spread evenly.
- Flip and finish: Cook until set, flip, and cook the other side until done. Serve with rice & enjoy!
Notes
- Use the nutrition card in this recipe as a guideline.