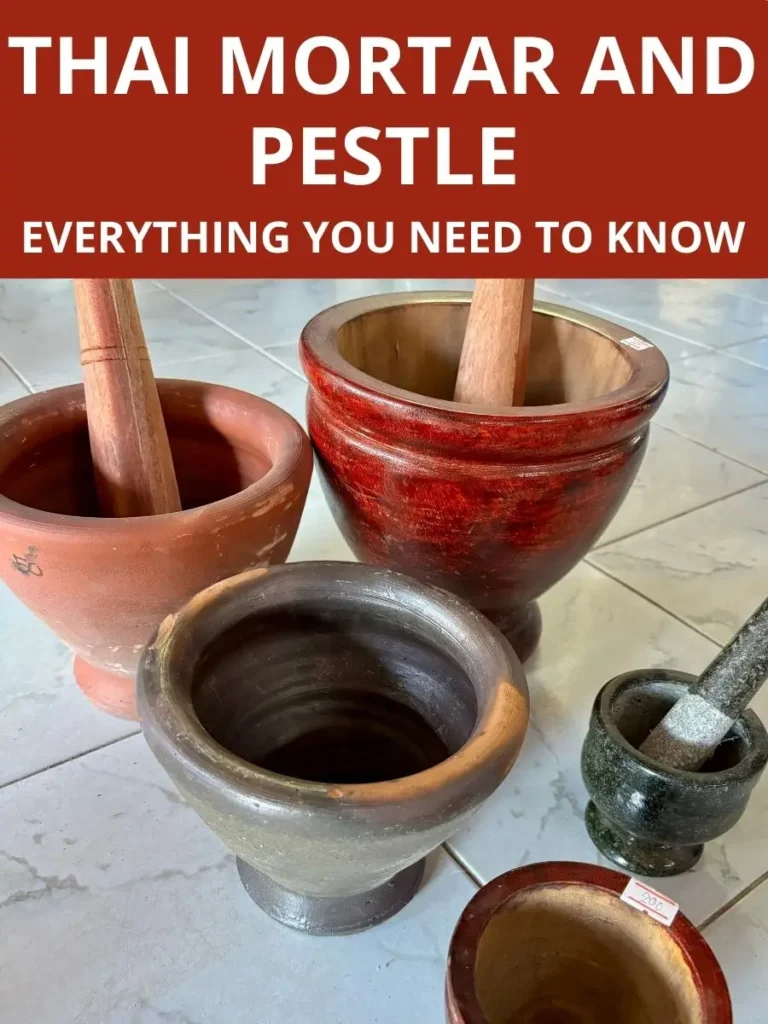
Thai Mortar and Pestle (Complete Guide)
As an Amazon Associate, I earn from qualifying purchases. Read the full disclosure here .
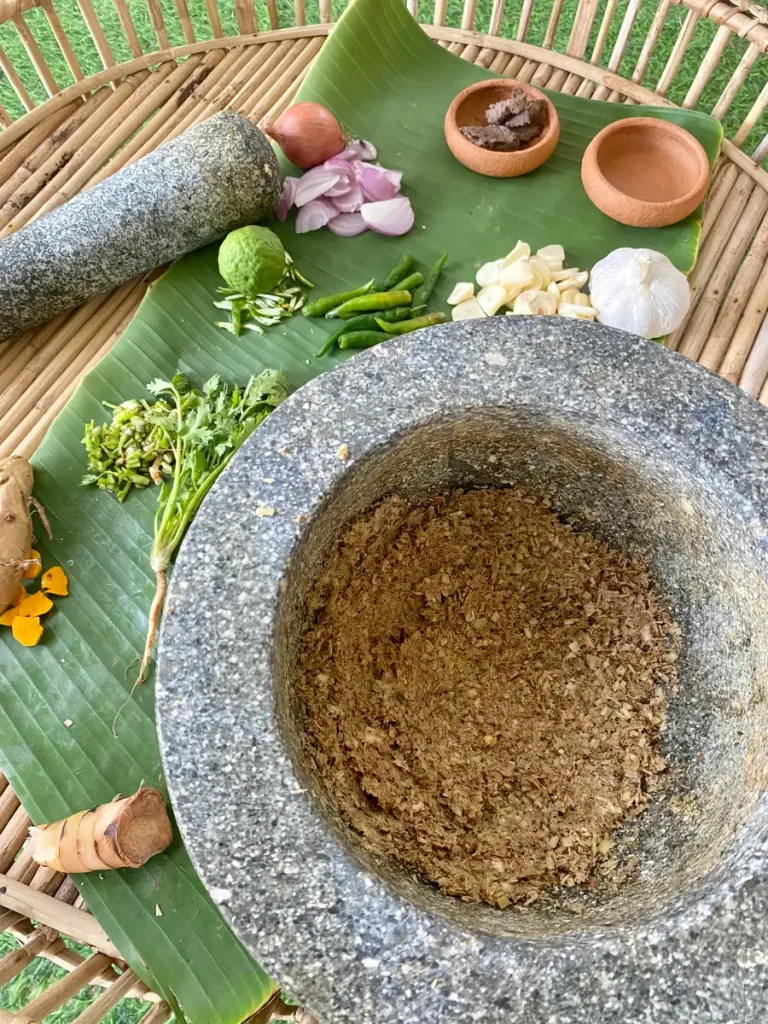
A Thai mortar and pestle is the secret to creating those delicious authentic Thai flavors right at home. In this complete guide, you’ll master its uses, discover the best materials, learn how to pick the perfect one, and get tips on maintaining its shine.
It’s a must-have in Thai cuisine, essential for creating aromatic pastes and fiery dips.
From the North’s cool mountains to the South’s warm beaches, no Thai kitchen is ever quiet, each filled with the steady rhythm of pounding and grinding.
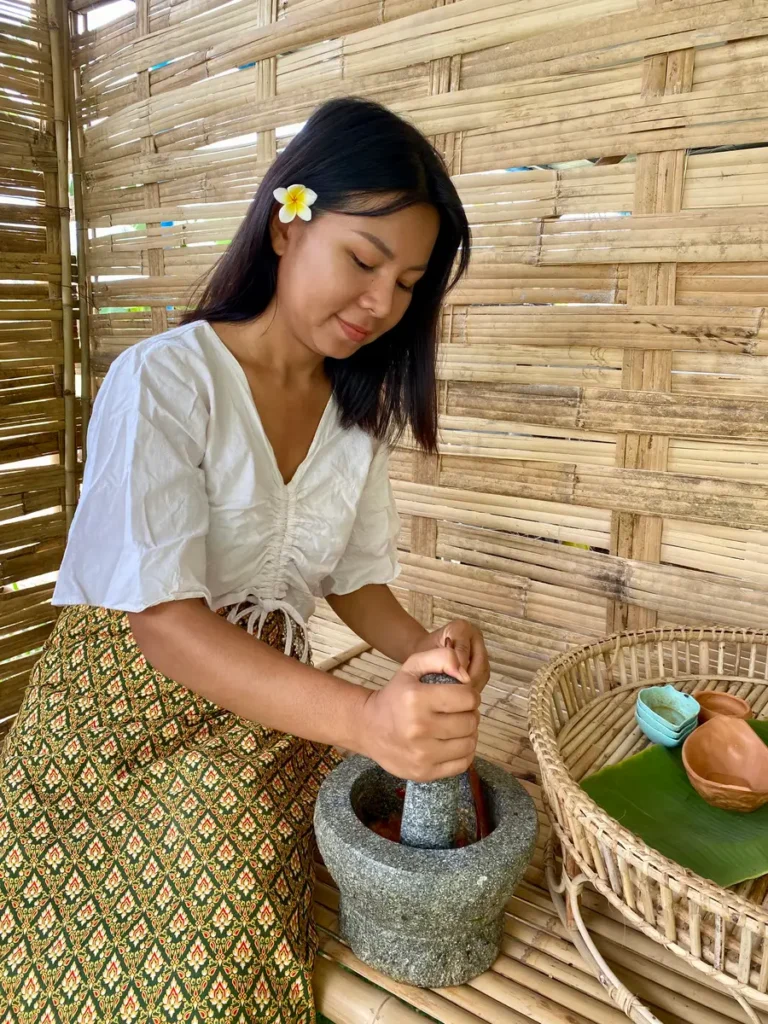
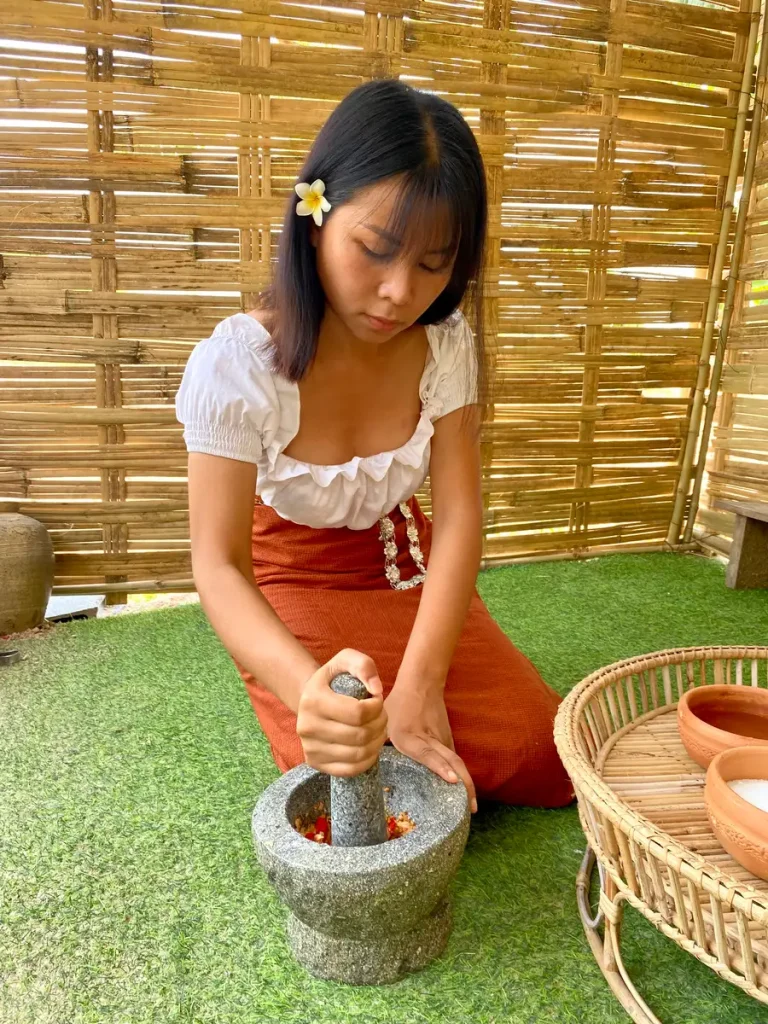
My experience with krok sak
I’ve been practicing with a mortar and pestle (krok sak in Thai) ever since I was little. Now, with years of whipping up dishes in Thai restaurants, I’m excited to share my best tips and tricks.
Whether you’re here for the secrets to the perfect spicy Thai dip or curious about different materials, I’ll walk you through everything.
As always, we’re keeping it clear and simple, just right for home cooks.
One quick thing – this guide only covers Thai-style cooking, focusing on granite and clay mortars with granite and wooden pestles. While there are ceramics, cobeks, metals, and molcajetes, today it’s all about keeping it authentically Thai.
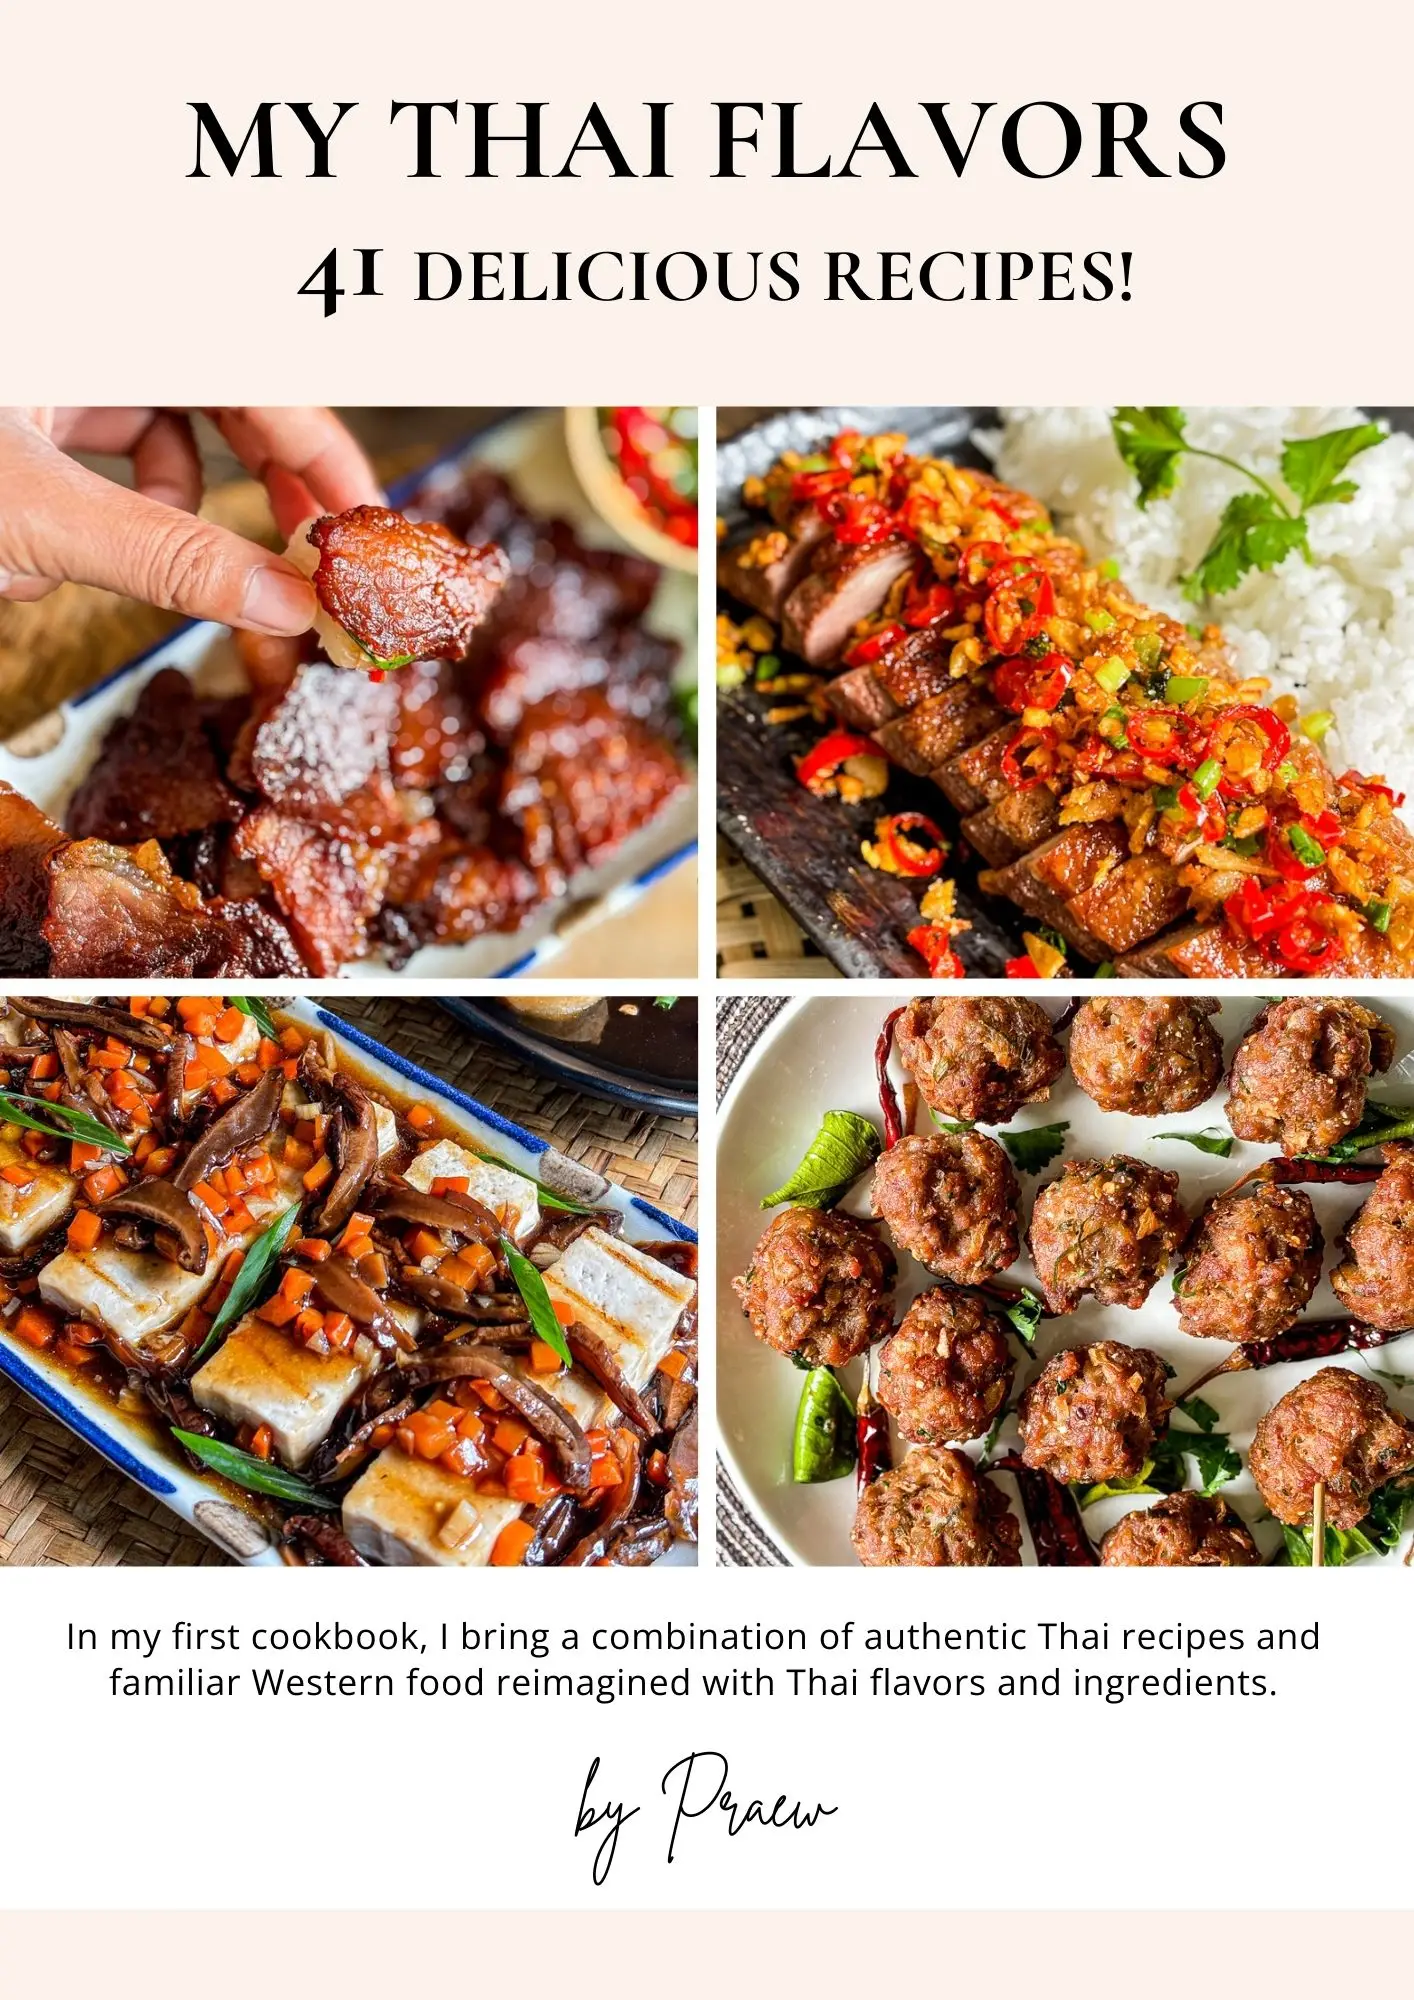
Learn Thai cooking step by step
My cookbook is a combination of authentic Thai recipes and Western dishes cooked with Thai flavors and ingredients. It’s a great starting point if you’re new to Thai cooking or want to cook it more often.
What is a mortar and pestle
A mortar and pestle is a duo of tools used in traditional kitchens and pharmacies to crush and grind ingredients into a fine paste or powder to be used in cooking or medicines.
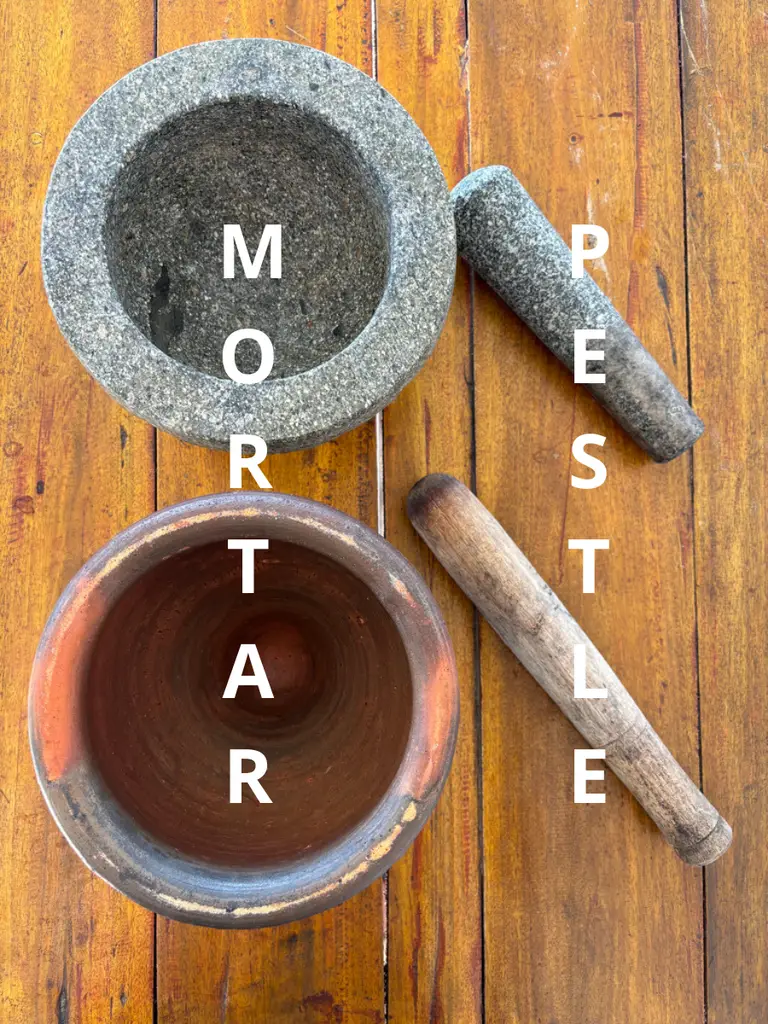
The mortar is the bowl-shaped tool used to hold the ingredients, while the pestle is the heavy, club-like tool used to crush and grind within the mortar.
Tips for choosing the perfect grinding tool
When selecting your ideal Thai mortar and pestle, it’s all about finding that perfect match for your dishes. This list will help you pick the best tool for effortlessly grinding herbs, spices, and all things nice.
- Opt for a not overly polished interior: A shiny, smooth interior might look clean, but it won’t grip your ingredients well – they lack abrasive qualities. What you really want is a surface that’s a bit rough and gritty to help break down ingredients into the desired consistency.
- Opt for a rounded shape: A good granite mortar has a well-rounded bottom. This shape helps you sweep ingredients from the sides back down to the center, preventing them from escaping and ensuring everything gets an even crush.
- Maintenance: Who loves cleaning? Not me! Thankfully, Thai mortars are pretty low maintenance. A quick wash, a little care, and we’re good. Just avoid abrasive cleaners.
- Material: Both granite and clay are a great choice for Thai cooking, we’re diving into the differences between clay and granite later.
- Size and capacity: Before your purchase, think about your favorite dishes and choose a size that can handle those ingredients.
If you’re smashing garlic and chilies for simple, everyday cooking, a small mortar and pestle does the trick.
For those who cook regularly for their families, a mid-size one is ideal. It’s spacious enough for crushing herbs and spices comfortably.
If you want to make a Thai red curry paste or Thai chili paste, or any kind of sauce or salad, a large M&P is usually the better option.
Now, let’s take a deeper look at the most common Thai mortar and pestle materials used in Thai kitchens.
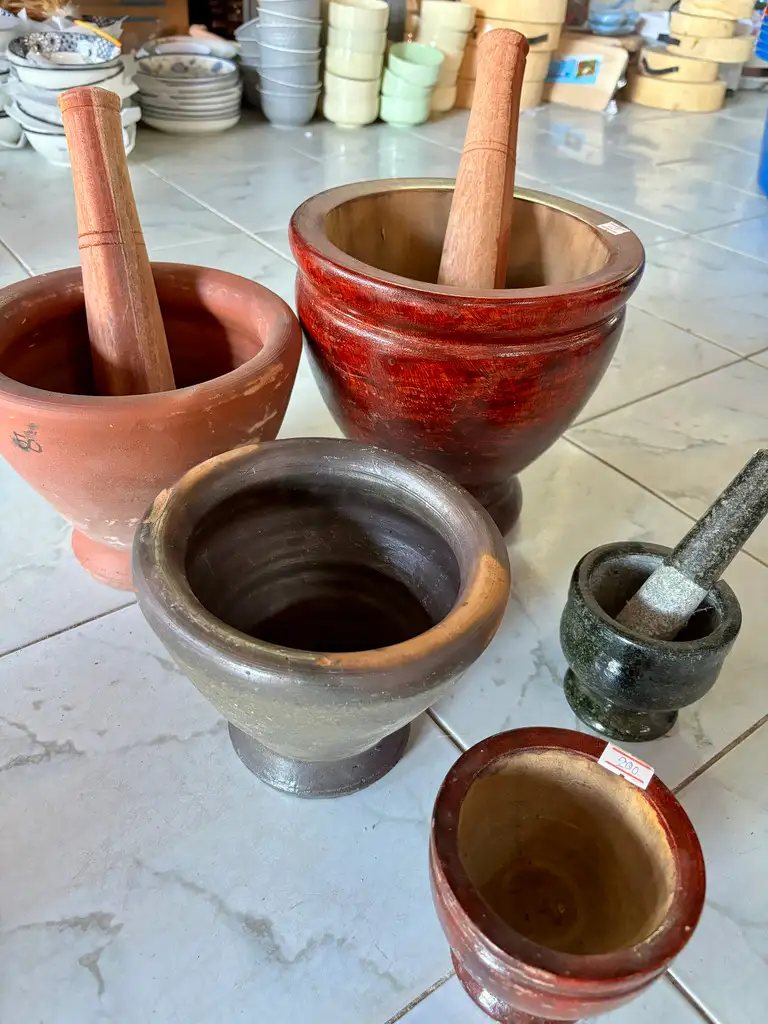
Clay vs granite mortar and pestle
In Thai cooking, we commonly use a clay / terracotta mortar with a hardwood pestle and a heavy granite mortar. Each has its unique benefits suited to different tasks.

Here’s how to choose between both materials:
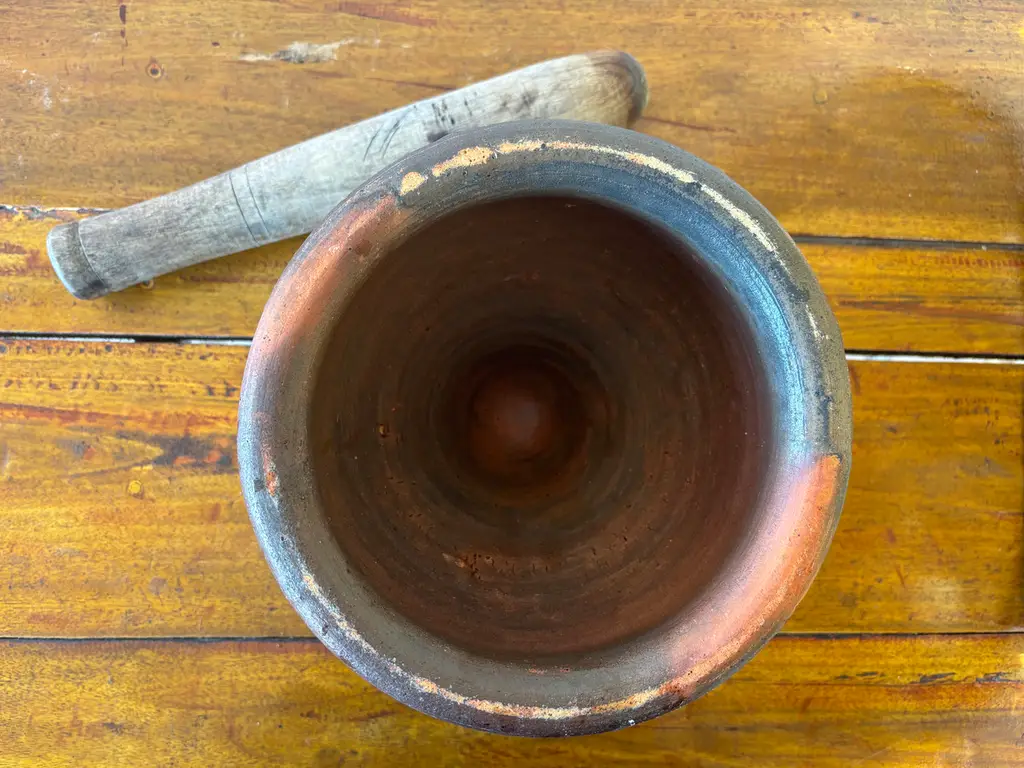
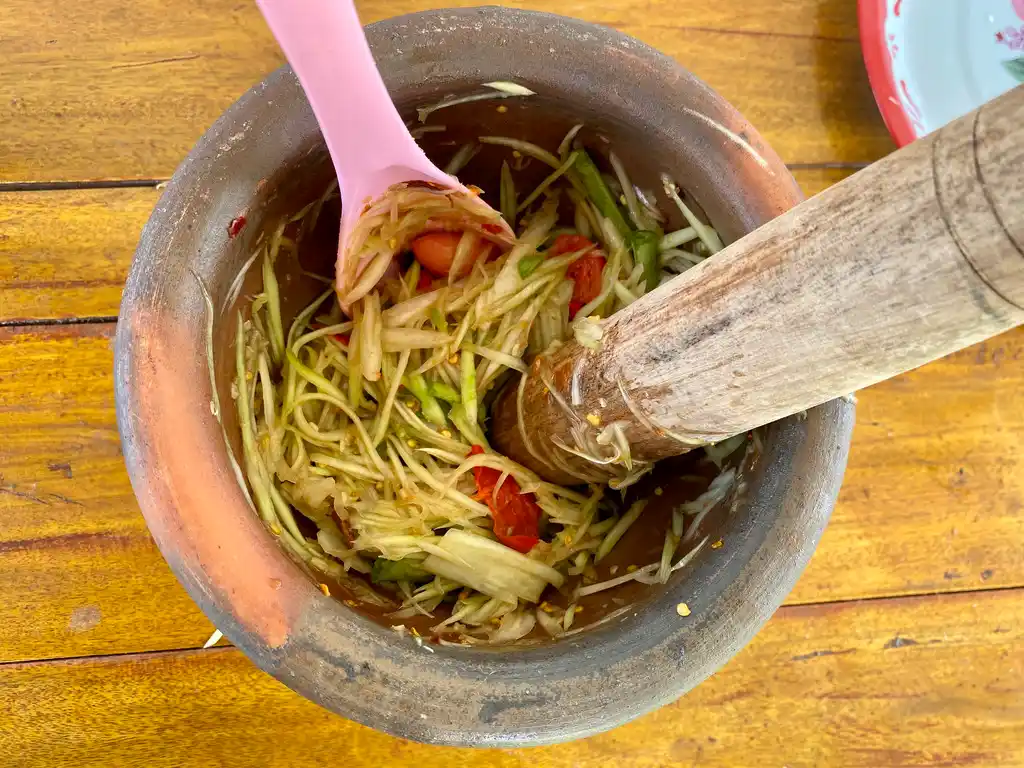
When to use a clay Thai mortar and pestle
Commonly spotted at street food markets in the Northern and Northeastern parts of Thailand (Isan), the clay mortar is perfect for creations that need a lighter touch.
- Suited for gentle grinding: The wooden pestle is perfect for gently crushing and lightly bruising ingredients, releasing their flavors without reducing them to a fine paste.
- Ideal for salads: Traditionally used for making fresh Thai salads like som tum Thai (green papaya salad).
- Use cases: Use a clay M&P when you need to lightly bruise ingredients like garlic and chilies, crush peanuts, or toss together a salad.
When to use a granite Thai mortar and pestle
When your ingredients call for power and crushing, this is what you need.

- Heavy grinding: Its weight and durability are ideal for transforming tough ingredients like lemongrass, galangal, and dried chilies into fine consistencies. A heavier pestle also means less work for you – the extra weight does some of the pounding.
- Long-lasting: A high-quality granite M&P is incredibly durable, making it a lifelong kitchen companion. Not to mention, granite is easy to clean and maintain.
- Fine pastes: Turn to granite for making smooth, aromatic Thai curry pastes, fiery chili pastes, and fine spice blends.
What about a wooden mortar and pestle?
A wooden M&P can be used for gentle pounding tasks like crushing chilies or making a papaya salad, but it’s not my preferred choice, nor my recommendation.
I consider them to be more specialized tools, lacking the versatility of the clay and granite materials.
Good to know: They require drying before storage to prevent mold growth if not dried properly.
What’s best for dipping sauces?
Dipping sauces can be crafted using both clay and granite materials, depending on the texture you’re after. Choose the material that works best for your sauce’s desired consistency. Granite for a smooth sauce, clay for a chunkier texture.

Still can’t decide?
Having both would be ideal, but if you need to pick just one, consider your most common dishes and cooking style.
I think the best mortar and pestle material is granite since it’s versatile, durable, and ready to pound anything you throw at it.
However, if you primarily make salads or just crush garlic and chilies, a Laos / Thai clay mortar and pestle might be your go-to. It’s often the cheaper, lighter option, but remember, it’s better for softer tasks.
Now that you’ve got the scoop on picking the best material and size for your kitchen needs, let’s discover the tasty things you can create with it.
What is a mortar and pestle used for in cooking
It’s an essential tool that’s versatile enough to crush, grind, and blend a wide array of ingredients.
Crushing garlic and chilies
Most Thai stir-fries start with pounded garlic and chilies.

Give the garlic a rough chop in your mortar, ditch the peel, and then mince. Toss in some bird’s eye chilies for heat.
Dried Chili flakes
You can use a M&P to make Thai chili flakes, a staple ingredient in Thai food.
I love how it allows me to easily add some spice without needing fresh chili peppers. Perfect for adjusting the heat to your taste!
Grinding fresh spices
Say goodbye to store-bought and hello to freshly ground black peppercorns, cumin, and coriander root right in your kitchen.

Nothing beats the fragrance of freshly ground spices.
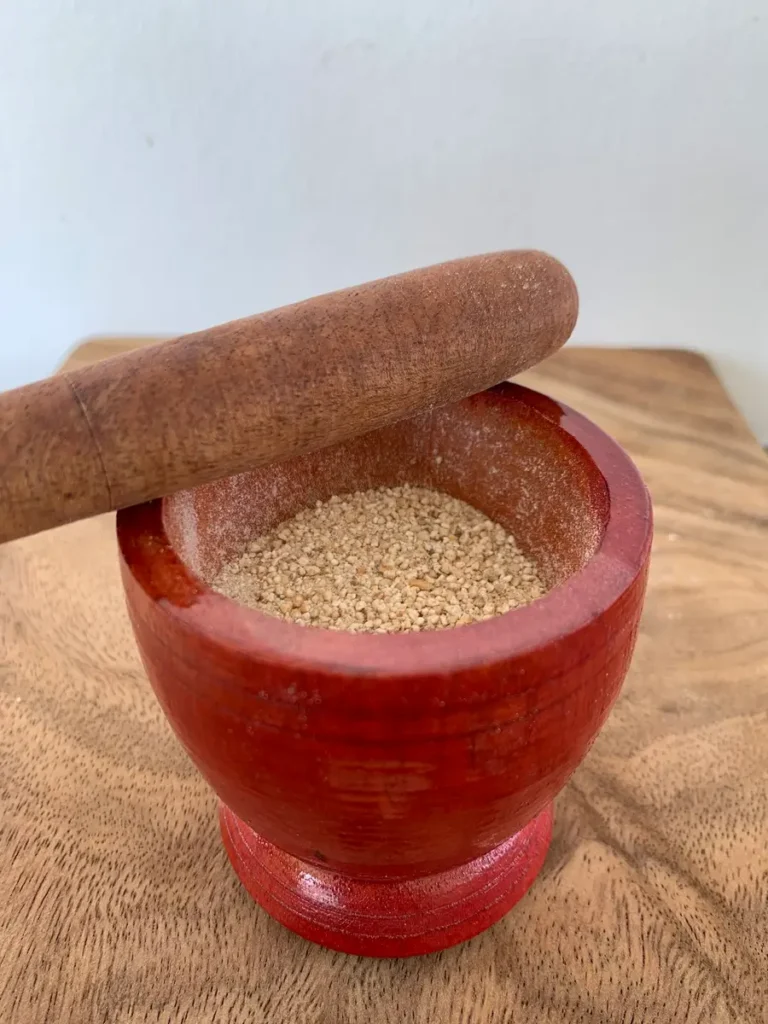
Toasted rice powder
A pinch of khao khua or toasted rice powder adds that nutty flavor and texture to traditional salads like Thai pork larb and sauces, plus it acts as a thickening agent.
Making dipping sauces and dressings
Turn herbs and spices into smooth pastes, then mix up some Thai dipping sauces or salad dressings right in the mortar.
The mortar can be used a mixing bowl; just stir and pound your way to a salad.
Crafting curry pastes and chili pastes
Making pastes becomes a breeze. Try one of my authentic recipes below.

- Jeow bong recipe (Lao chili paste)
- Thai panang curry paste recipe
- Thai green curry paste recipe
- Massaman curry paste
- Thai red curry paste
- Thai chili paste
Crushing nuts
Roast peanuts for pad Thai or sum tum Thai, then give them a good crush.
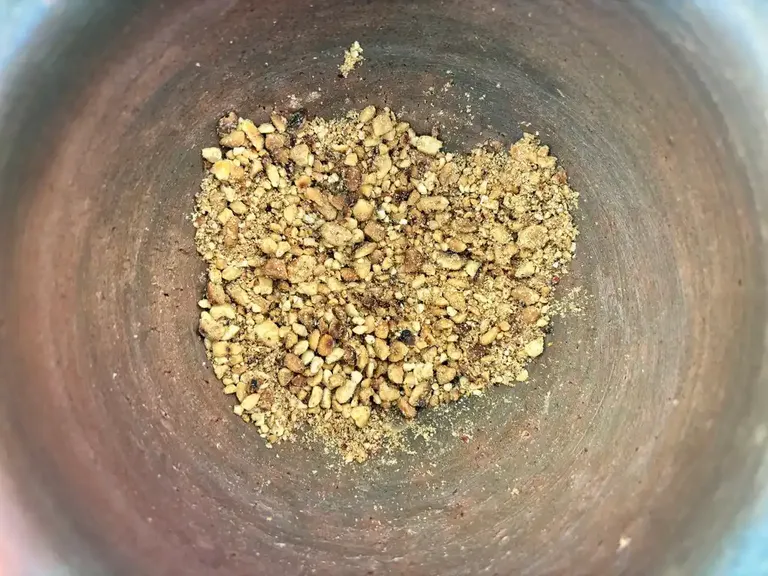
Check out my dry roasted peanuts recipe for more tips.
Making marinades
Smash up garlic, ginger, and spices, add your seasonings, and marinate your choice of protein like chicken or beef.
Making pestos
While pestos are commonly assosciated with Italian or Western cuisine, you can try my Thai basil pesto for a twist.
Cocktails
In the West, a small mortar and pestle is perfect for crushing sugar, herbs like mint, and ice before adding them to a glass for refreshing drinks like mojitos.
Ready to get pounding? Here are some simple mortar and pestle recipes you’ve got to try – from a spicy long bean salad to authentic nam prik ong, a meaty Northern Thai dip.
Tips for using this essential Thai kitchen tool
Below are my go-to tips for rocking that M&P!

- Cut on the edge of your mortar: Use the edge of your mortar as a quick cutting board. Perfect for when you’re making something like a spicy long bean salad and need to chop directly into the mix.
- Use the right technique: Use a combo of pressing, turning, and rocking to get everything perfectly ground up. You’ll get the hang of it after several pounding sessions!
- Dry ingredients first: Always start with your dry stuff when you’re making curry pastes or spice mixes. Starting with dry ingredients is the most effective and prevents creating a paste too soon.
- Use a rice spoon: I like using a plastic rice spoon or a wooden spoon to scoop ingredients that have climbed up the sides back down into the center.
- Keep it clean: Just wash it by hand with some soap and water after you’re done. No dishwasher, please! Let it air dry before you put it away.
- Be gentle: Especially with a clay mortar, don’t go all crazy on it. A gentle touch without too much pressure is all you need to avoid any chips or cracks. Treat your M&P with respect, and it’ll be your kitchen companion for years.
Seasoning your tool
Should you or shouldn’t you season your Thai mortar and pestle? Opinions are like recipes – everyone has their own.
Why season a mortar and pestle? Seasoning will help prevent little bits of rock left over from the shaping process from getting into your food, additionally, it helps to condition and improve their performance.
It’s also a ritual many cooks enjoy as a way to ‘welcome’ their new tool.
Many swear by the dry rice method, but honestly, I believe even the best M&P will naturally wear over time – and that’s totally fine. Hey, I’m still here to tell the tale!
When I welcomed my first granite Thai mortar and pestle into my kitchen, I skipped the whole rice ritual, and so did my Thai family and neighbors. A simple scrub with water is all it takes to get it ready for action.
Trust your judgment and do what feels right for you.
Just make sure to invest in a high-quality mortar. It should feel a bit smooth right out of the box, with enough texture to grind and mix effectively.
Remember, this advice is specific to Thai mortar and pestles.
Feel free to disagree, though! If the dry rice method speaks to you, go for it.
How to use a mortar and pestle

-
Prep your ingredients: Start by gathering and prepping your ingredients, placing them into the mortar. If using both wet and dry ingredients, start with the dry ones first.
-
Grind into the base: Your pestle is the tool to grind your ingredients. Firmly press and twist your pestle into the base of the mortar, pressing down and crushing your ingredients.
-
Push ingredients back into the center: Rock your ingredients in the mortar, going around the pestle’s circumference within the mortar to gather any ingredients that may have climbed up the sides. Push them back into the center and bear down on them.
-
Keep grinding: Use a circular and rocking motion to grind your ingredients into a fine substance. Keep it gentle and controlled, you’re not just crushing, you’re unleashing aromas and flavors. Good things take time!
Why it’s worth it
The mortar and pestle arose in the Stone Age and has been a kitchen staple for over 6000 years. It’s a must-have for anyone who loves to cook.
This ancient kitchen tool has stood the test of time, and it brings out the best in every ingredient.
Reasons to have a mortar and pestle:
- Get a mini workout right in your kitchen: It’s a great way to give your arms a bit of exercise while you cook.
- It’s usually a one-time purchase: Most materials will last you a lifetime when cared for. It doesn’t need electricity or batteries either, so it’s a one-time payment. And without any complex parts, it’s easy to clean and maintain.
- Bring out the maximum flavor: Pounding herbs and spices releases their natural oils and aromas. You are bruising your ingredients rather than cutting them, which releases more flavor. Think about slicing chilies vs pounding them as the perfect example.
- Choose your desired texture: You get to decide how fine or coarse you want your ingredients. With a food processor, you’re not in control.
- Authentic and traditional: If you love making genuine Thai food from scratch like me, this tool is for you.
Why not use a food processor
A food processor can be a quick and easy mortar and pestle substitute if you’re short on time.
But sometimes, slower is better.
Mortar and pestle dishes often taste better because the grinding and mashing mixes the ingredients while releasing their essential oils and flavors slowly.
The slower grinding really brings out the best.
Plus, a food processor will tear apart herbs and spices, while a mortar and pestle gently coaxes out the flavors.
And let’s be honest, who enjoys cleaning all those food processor and blender parts? Plus, a mortar and pestle is way easier for just a bit of garlic or a few chilies.
I’ll always stick with a mortar and pestle for that authentic touch and a bit of fun.
Frequently asked questions
Is a mortar and pestle worth it?
Yes! A mortar and pestle is an ancient-old kitchen tool that’s perfect for crushing herbs and spices, releasing the maximum of flavors in a way a food processor simply can’t match.
What else can I use my M&P for?
A M&P be used for crushing nuts, making guacamole or salsa, salads, dipping sauces, crushing garlic and chilies, or even grinding pharmaceuticals into powders. The possibilities are endless.
What is mortar and pestle in Thai?
Mortar and pestle translates to ‘krok sak’ in Thai. ‘Krok’ (ครก) refers to the pestle and ‘sak’ (สาก) is the mortar.
Where can I buy one?
You can buy a mortar and pestle at kitchenware stores, online retailers like Amazon, local markets, department stores, and home goods stores.
Read my article essential Thai pantry staples for home cooks next!
Conclusion
Making food with this essential kitchen tool is definitely an experience. When you make your first curry paste from scratch, you’ll understand the magic.
With each use, you’re not just preparing food, you’re crafting a homemade meal with love and care.
So, welcome a clay or granite Thai mortar and pestle into your kitchen, and let every dish be a celebration of authentic cuisine!
Nice explanation of the different M&P’s!
Thank you for leaving a comment!
Hi! Can u help me where best to buy mortar and pestle in bangkok? Thank you
Hey! Many Thai people use a mortar and pestle from the local shops all around Thailand. Just enter one of the local shops and ask for a mortar and pestle, they usually stock clay and granite mortar and pestles (or they will tell you where to find it!).
Hi, thanks for this complete article and explainations ! I bought a wood mortar (I had to take a plane and wanted something that couldn’t brake on my suitcase – so I skipped the clay mortar) – any advice before a 1st use ? Using oil ? It looks like the Wood is not treated, very « rough »- it is red on the outside and looks like not made in teak Wood… I wil use it mostly for salad (I already have 2 granite ones). Thanks a lot
Hey! If you want to prep the wooden mortar you could start by giving it a rinse in warm water but don’t soak it. You can rub a little neutral oil into the surface and let is sit overnight, then wipe off any a excess (This helps the wood from cracking over time).
Before using it for food, grind a handful of uncooked rice or coarse salt to smooth out the surface and remove any lingering wood dust. The rice might turn a little gray—totally normal. Just toss it out and give the mortar a wipe.
Make sure to always dry immediately after washing it. If the outside is reddish, it might be made from tamarind wood, which is common for wooden mortars in Thailand. It’s a sturdy material and will last long! Enjoy!