Khanom Chan Recipe (Authentic Thai Layer Cake)
As an Amazon Associate, I earn from qualifying purchases. Read the full disclosure here .
Khanom chan recipe delivers the BEST authentic Thai layer cake you’ll ever taste. These velvety layers of pandan and coconut are so fragrant and so irresistible. This is 100% a family-favorite sweet Thai dessert that neither you nor the kids want to miss!

Obsessed with pandan-coconut flavor? Check out my pandan coconut jelly recipe.
What is khanom chan
Khanom chan is a popular Thai layer cake loved for its soft, chewy, jelly-like texture. Made with rice flour, tapioca flour, pandan essence, and coconut milk, this steamed Thai dessert is often enjoyed during celebrations.
In Thai, “khanom” (ขนม) means dessert or sweets and snacks, and “chan” (ชั้น) means layers.
More about Thai layer cake recipe
Khanom chan is one of my absolute favorites, it’s where aromatic pandan meets the creamy richness of coconut milk.
Traditionally, this dessert is made up out of nine steamed layers. In Thailand, the number 9 stands for luck, prosperity, and basically everything good in life. That’s why this cake is a popular gift – you’re basically blessing the other person with success.
To make things easier, you can totally make a dessert with fewer layers.
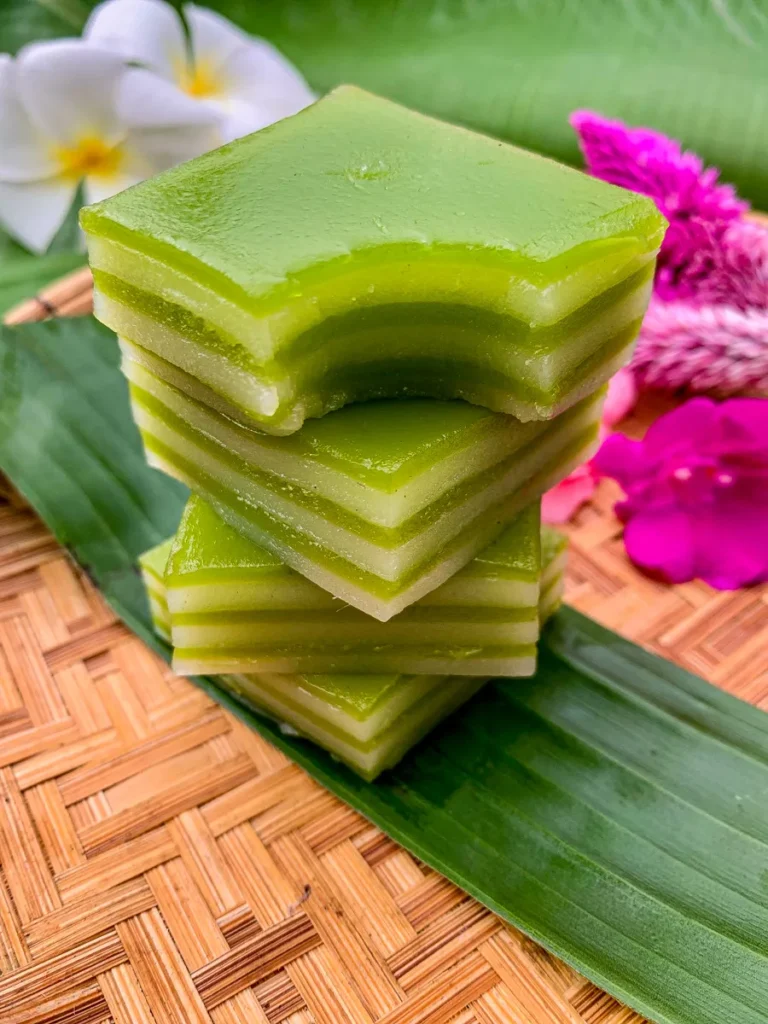
Let’s talk a bit more about that irresistible firm, jelly-like texture. It’s so satisfyingly stretchy, and somehow it keeps you reaching for more. Well, I definitely couldn’t stop at one or two.
The batter used for this dessert is a duo of rice flour and tapioca. Some recipes may call for arrowroot starch. We’ll add a sprinkle of sugar and a pinch of salt for a batter that’s ready to steam its way onto your table.

Each layer gets its own steaming session. It’s a labor of love, but it’s worth every minute!
I love this Thai pandan cake with a vibrant green color from natural pandan extract, but you can also use food coloring to dye it into a color of your choice.
Why try this coconut pandan dessert
- Family-friendly dessert recipe: Cooking this layer sweet cake is basically a family bonding session. And eating it is where the real fun starts. It’s vegan too, so everyone can join in on the fun!
- 9 layers of good luck: Each layer symbolizes good luck in Thai culture, simply eat your way to good fortune!
- Authentic Thai food: This is one of those street food snacks you have to try cooking at home.
- Amazing texture: Jelly meets cake, but even better. The kids will be doing a happy dance after each bite.
- Crowd-pleaser: Serve this up at your next gathering, and you’ve got a story to tell. Just you on a friday night? Doesn’t matter, this khanom chan with pandan extract recipe is the perfect company.
Learn Thai cooking step by step
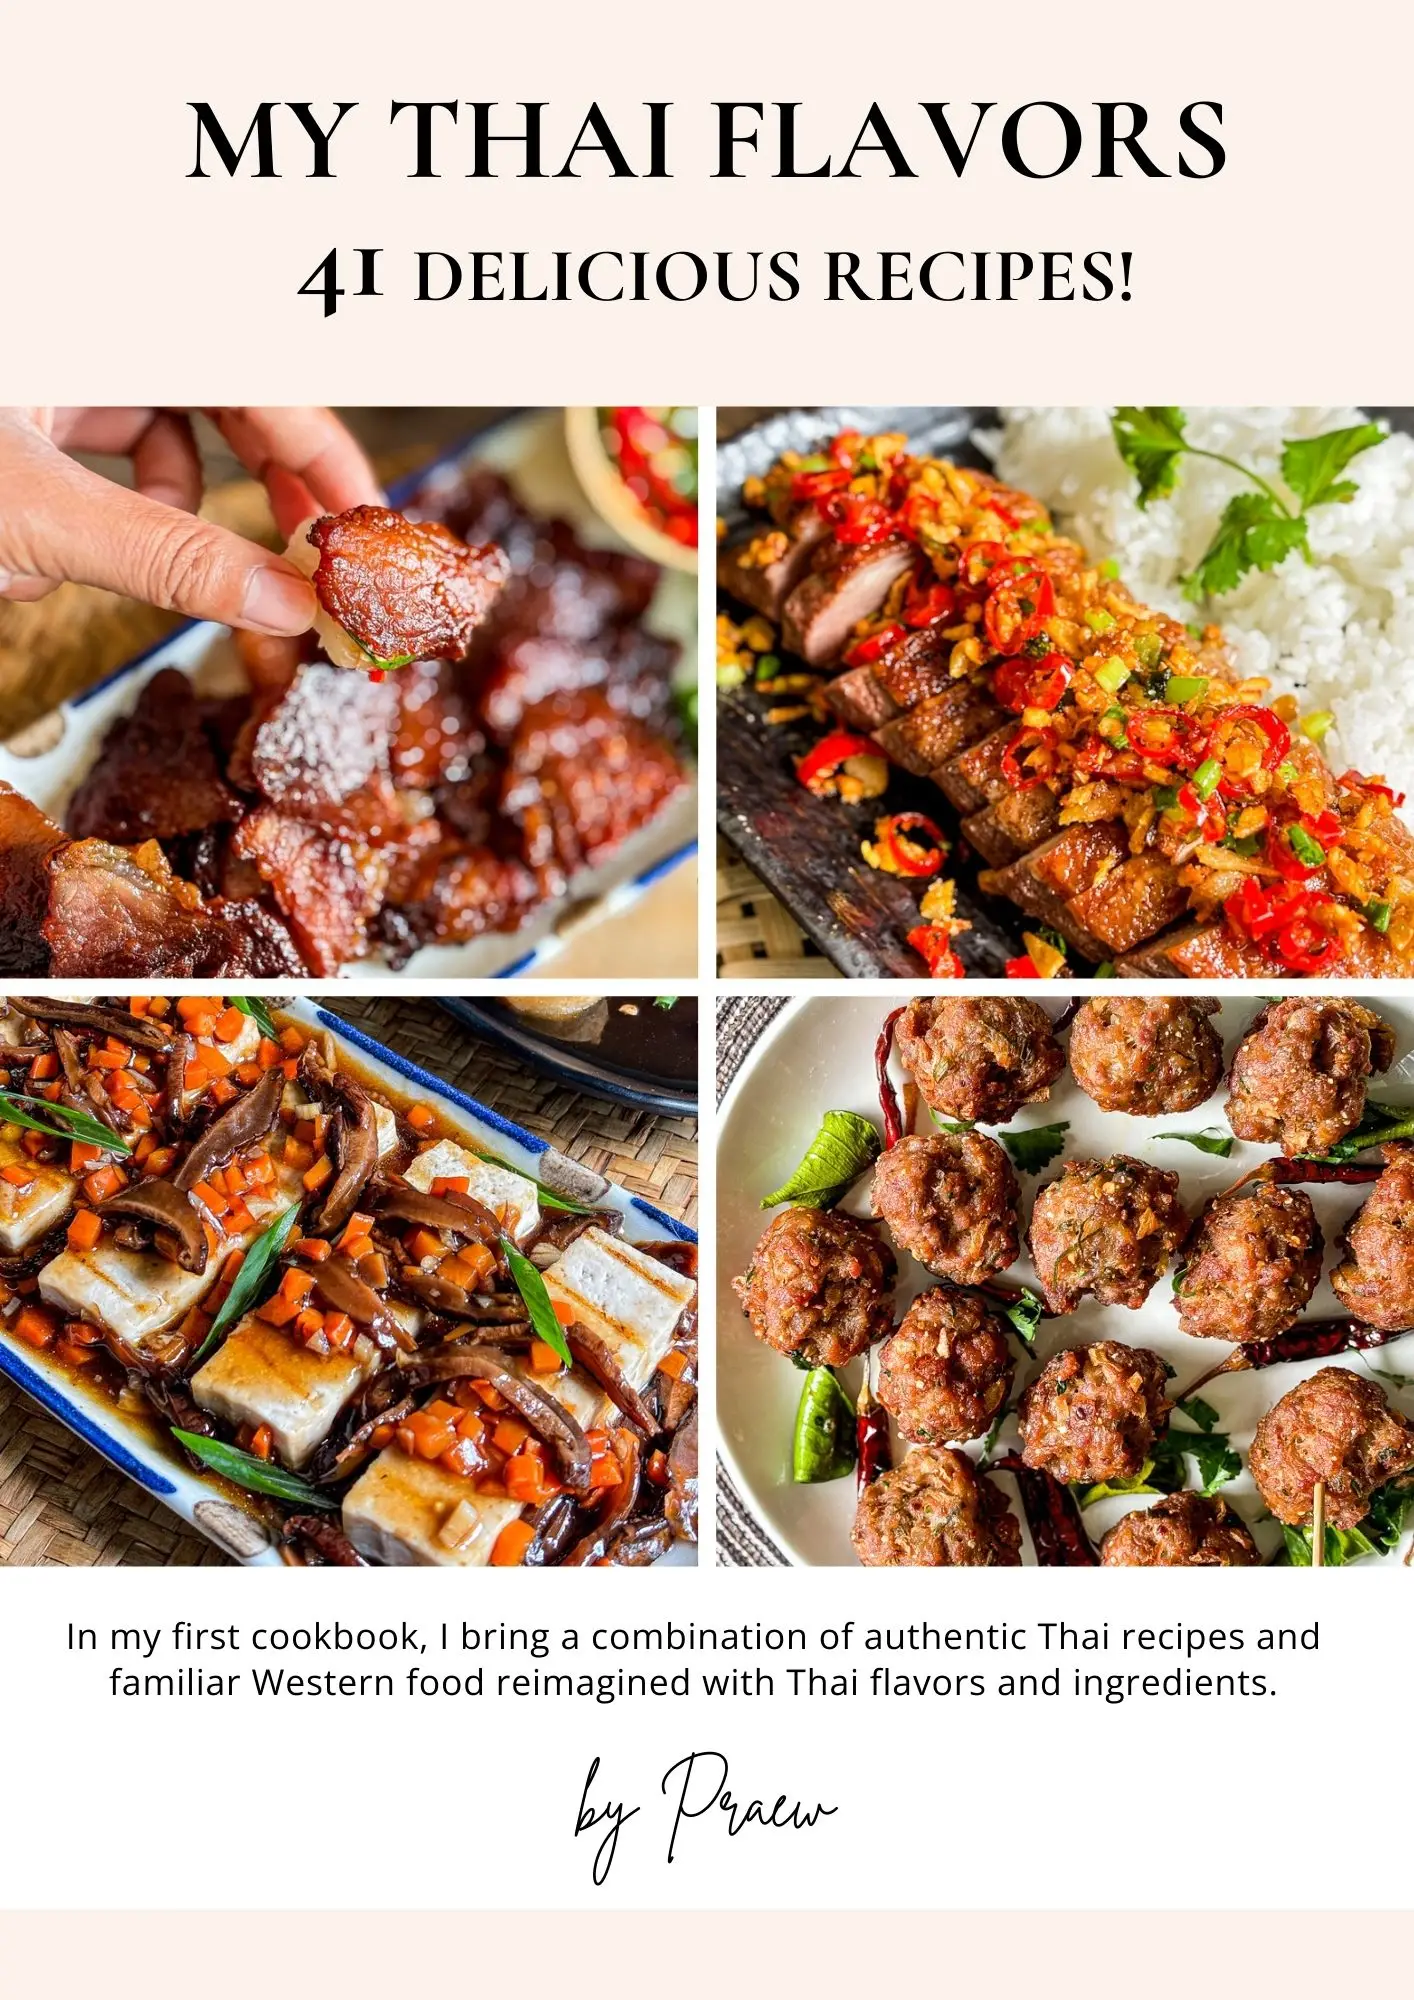
My cookbook is a combination of authentic Thai recipes and Western dishes cooked with Thai flavors and ingredients. It’s a great starting point if you’re new to Thai cooking or want to cook it more often.
Ingredients
Ingredients can be sourced at Asian grocery stores and Asian markets.
The exact measurements are in the recipe card at the end of this post.

- Tapioca starch – Makes the cake chewy and jelly-like.
- Arrowroot starch
- Rice flour – The main flour used in khanom chan.
- Pandan leaves – I used fresh pandan leaves, but pandan essence can be used as an alternative.
- Coconut milk – Use full-fat coconut milk for a creamy taste.
- Sugar – Sweeten to taste.
- Salt – A pinch helps bring out the flavors.
Cooking instructions
-
Make the coconut layers

1. In a large mixing bowl, combine tapioca starch, tapioca flakes, rice flour, sugar, and salt.
2. Gradually add the coconut milk while whisking.
3. Check the mixture to ensure that no dough crumbs remain. -
Filter the coconut layers
Use a sieve to strain the mixture from the prior step. Divide it into two uniform portions. One portion is the coconut layer, and the other will be used to craft the pandan layer.
-
Make the pandan layer
Use a blender to mix the pandan leaves into one of either portions. Strain this mixture using a kitchen cloth and then pour it back into the bowl. Now, you’ll have to separate bowls: one for the coconut layer and one for the pandan layer.
-
Steam the layers
1. Place a steaming pot filled with water on medium heat.
2. Once boiling, carefully place your baking mold inside.
3. Close the lid and allow it to steam for 5 minutes.
4. Evenly spread a thin layer of either coconut or pandan within the baking mold, ensuring the base is covered.
5. Seal the pot with the lid and steam for 5 minutes.
6. Promptly lift the lid, and wipe its underside to prevent any water droplets from falling into the mold.
7. Pour in the next layer, and steam for another 5 minutes.
8. Repeat the process until all layers have been steamed.
9. Serve immediately or chill in the fridge.


Recipe tips and tricks
- When you take off the steaming pot lid, do it quickly to stop any water from dripping down.
- Each layer is steamed individually, don’t rush it and love the process.
- Keep a consistent thickness as you steam each layer.
Kitchen tools
- Measuring spoons and cups
- Mixing bowls
- Baking mold: Pan or silicone molds for shaping your kanom chan. A silicone mold makes it easier to pop out the steamed cake. I used a 2 pound cake size mold.
- Sieve cloth: If you’re using fresh pandan leaves.
- Steamer
- Blender
- Whisk
- Sieve
Serving suggestions
Use a sharp knife to slice through the layers. Serve chilled or at room temperature.
How to store
To store for later, place the dessert in an airtight container and store in the fridge. It’ll last several days, but the texture might change over time.
Frequently asked questions
Where to buy pandan leaves?
Pandan leaves are available at Asian grocery stores. They can be found frozen or sometimes fresh. If you can’t find pandan leaf, pandan extract makes a good substitute.
Can I make this in advance?
Totally. Just make it in advance and store in the fridge until you’re ready to serve.
Can I add other flavors?
Yes, feel free to experiment with extracts, cocoa powder, or even coffee.
More popular Thai desserts you’ll love
- Thai grilled bananas
- Thai mango sticky rice
- Agar agar jelly recipe with fruits
- Bananas in coconut milk
- Roti dessert – Pan-fried pancakes topped with sweet condensed milk.
- Bua loy – Glutinous rice balls in coconut milk
If you loved reading this khanom chan recipe, please make my day by dropping a star rating and/or a comment below!
Khanom Chan Recipe (Authentic Thai Layer Cake)

Ingredients
- 9 ounces white sugar
- 17 fluid ounces coconut milk
- 0.5 teaspoon salt
- 1.8 ounce arrowroot starch
- 1.8 ounce rice flour
- 5.3 ounces tapioca starch
- 1.8 ounce pandan leaves
Instructions
MAKE THE COCONUT LAYERS
- In a large mixing bowl, combine tapioca starch, tapioca flakes, rice flour, sugar, and salt.
- Gradually add the coconut milk while whisking.
- Check the mixture to ensure that no dough crumbs remain.
FILTER THE COCONUT LAYERS
- Use a sieve to strain the mixture from the prior step. Divide it into two uniform portions. One portion is the coconut layer, and the other will be used to craft the pandan layer.
MAKE THE PANDAN LAYER
- Use a blender to mix the pandan leaves into one of either portions. Strain this mixture using a kitchen cloth and then pour it back into the bowl. Now, you'll have to separate bowls: one for the coconut layer and one for the pandan layer.
STEAM THE LAYERS
- Place a steaming pot filled with water on medium heat.
- Once boiling, carefully place your baking mold inside.
- Close the lid and allow it to steam for 5 minutes.
- Evenly spread a thin layer of either coconut or pandan within the baking mold, ensuring the base is covered.
- Seal the pot with the lid and steam for 5 minutes.
- Promptly lift the lid, and wipe its underside to prevent any water droplets from falling into the mold.
- Pour in the next layer, and steam for another 5 minutes.
- Repeat the process until all layers have been steamed.
- Serve immediately or chill in the fridge.
Notes
- Use the nutrition card in this recipe as a guideline.
Hi! I’d love to try this recipe but I can’t find anything called “Tapioca flake”. Can I use more tapioca starch? Or something else as a replacement? Thanks!
Hey Elle! You can use arrowroot starch. Can you find that? It seems there were some troubles with the translation!
Yes! I found arrowroot starch, thank you for replying! I’m wondering if I can reduce the sugar? Or will it change the texture too much?
Sugar also plays a role in the chewy, elastic texture by helping to retain moisture and adding that characteristic bounce. I’d recommend sticking with the recipe, especially if it’s your first time trying it!
I can’t find Arrowroot starch, would I be able to use tapioca flour as a substitute? Or corn flour? Thanks xx
Absolutely! Tapioca starch/flour is the closest substitute and should work well.
I am about to make this, but would like to know what size mould you use? It’s not stated in the recipe
Thank you for pointing that out! I used a pan that’s about 8 inches (20 cm) across. The exact size isn’t too important for this recipe, though. A similar-sized round or square pan will work just fine; the layers will just end up a little thicker or thinner. Happy cooking!