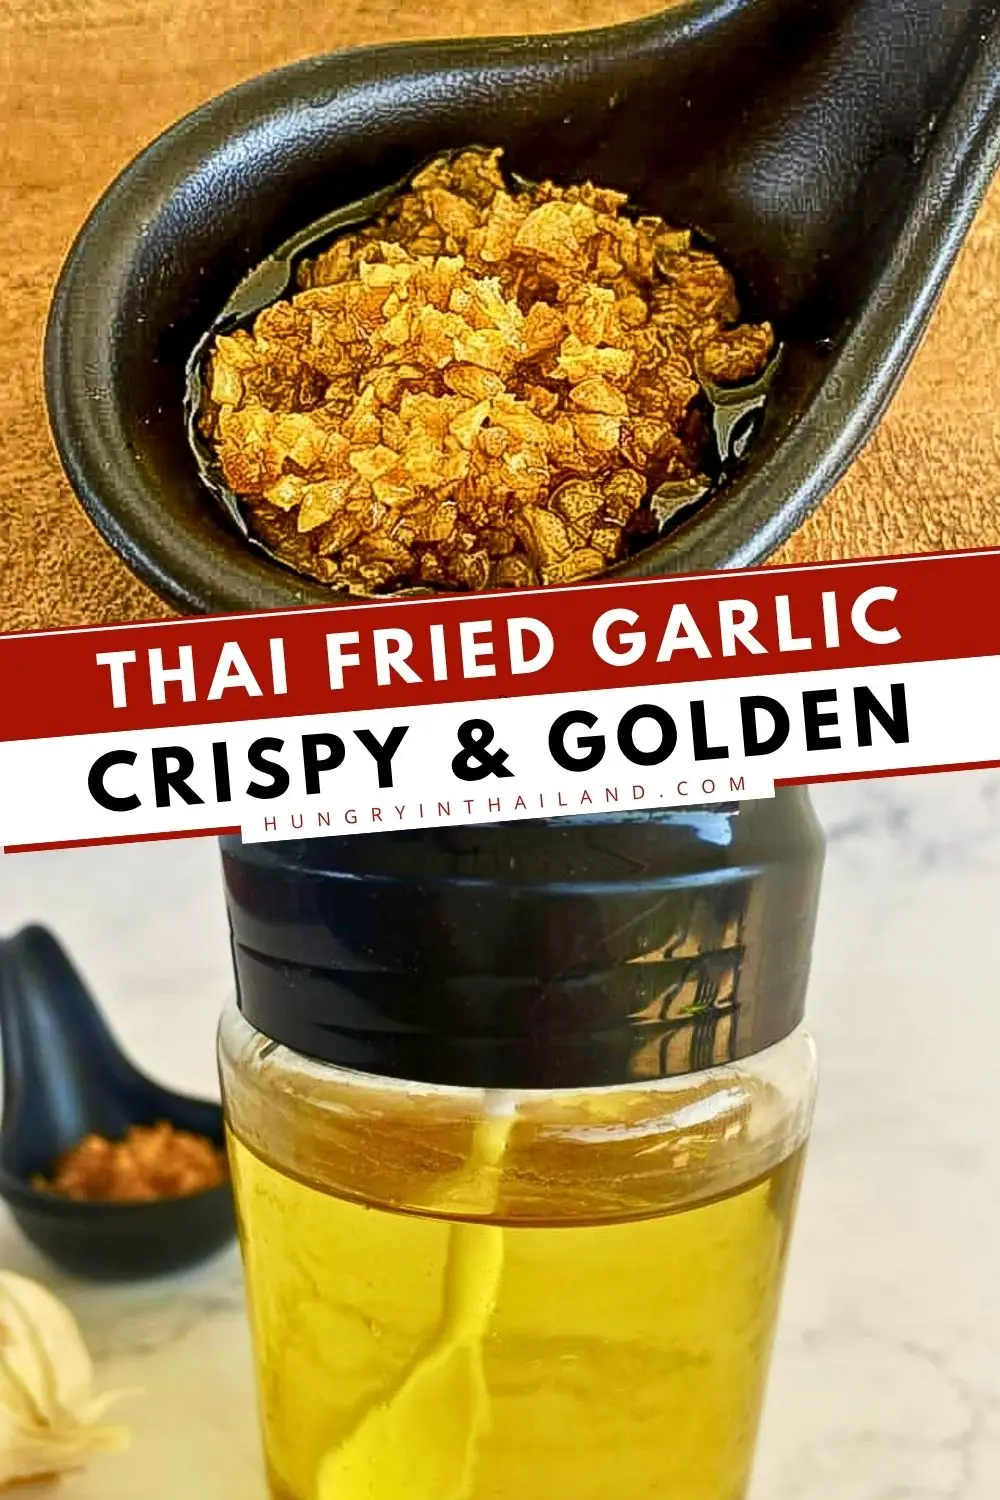
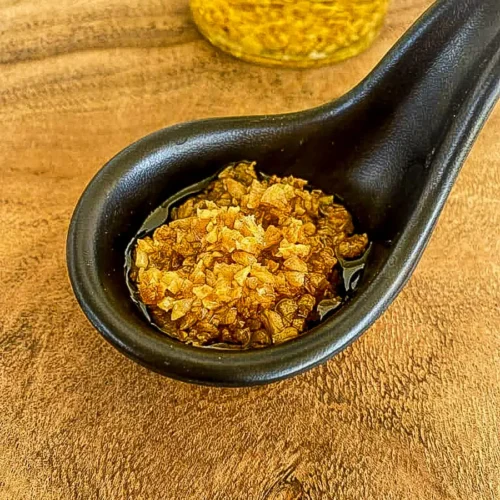
Thai Fried Garlic Recipe
As an Amazon Associate, I earn from qualifying purchases. Read the full disclosure here .
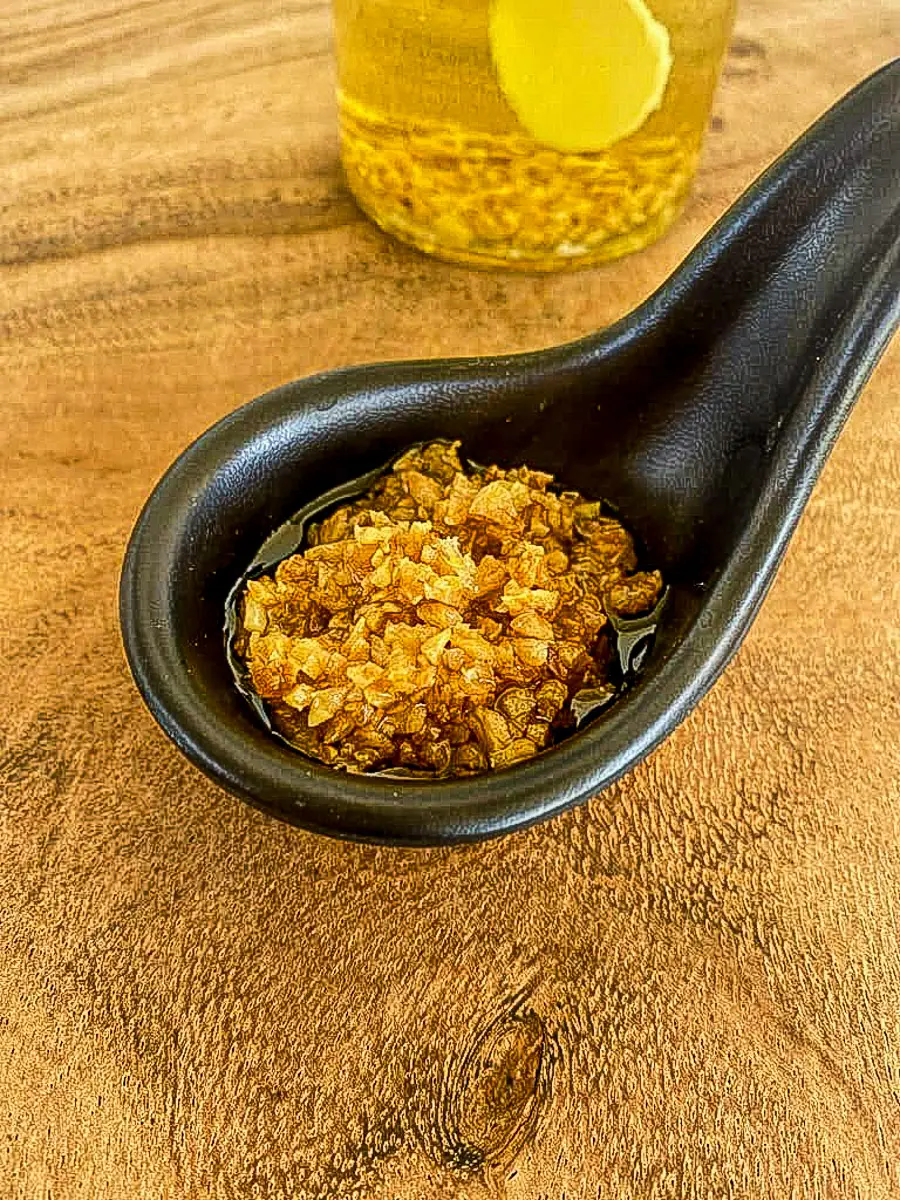
This easy Thai fried garlic recipe makes crispy garlic and flavorful garlic oil for noodles, soups, and stir-fries. It stores well for weeks and works as a simple garnish that makes homemade Thai meals taste even better.
What is fried garlic?
Fried garlic is made by slowly frying minced or chopped garlic in oil until golden and crunchy. The garlic turns fragrant and slightly sweet while the oil becomes deeply infused with garlic flavor.
Just like Thai chili flakes and fried shallots, crispy garlic is a topping we use on all kinds of dishes in Thailand. This recipe shows you how to make it perfectly crispy without burning it.
How to use it
Use Thai fried garlic as:
The garlic oil is also great for using as a flavorful cooking oil.

Quick tips before you start
The biggest mistake people make is frying the garlic too long. Garlic goes from golden to burnt very quickly, and it keeps cooking even after you remove it from the oil.
I usually take it out slightly before it looks fully done. After resting for a minute, it turns perfectly golden and crispy.
Also, don’t skimp on the oil. The garlic should fry freely in the pan, not dry-toast.
Praew ♡
Learn Thai cooking step by step
My cookbook is a combination of authentic Thai recipes and Western dishes cooked with Thai flavors and ingredients. It’s a great starting point if you’re new to Thai cooking or want to cook it more often.
Ingredient notes & substitutes
You can find everything at Asian grocery stores or markets. Head to the recipe card at the bottom of this post for the exact measurements.
- Garlic: Fresh garlic works best.
- Neutral oil: The best oils for frying garlic are neutral oils with a high smoke point because they let the garlic flavor stand out. Vegetable oil, canola oil, sunflower oil, corn oil, and or peanut oil are good choices. Avoid strong oils like sesame or olive oil.
How to make crispy garlic
1: Heat the oil. Add the oil to a wok, saucepan, or skillet over medium heat and preheat.
2: Prepare the garlic. Use a mortar and pestle to crush the peeled garlic, or finely chop it if you don’t have one. Try to keep the pieces roughly the same size so they cook evenly.
3: Fry the garlic. Add the garlic and stir constantly. Once the garlic turns lightly golden and smells fragrant, immediately remove it from the oil.
4: Drain and cool. Transfer the garlic to paper towels to drain excess oil. The garlic will continue crisping as it cools.
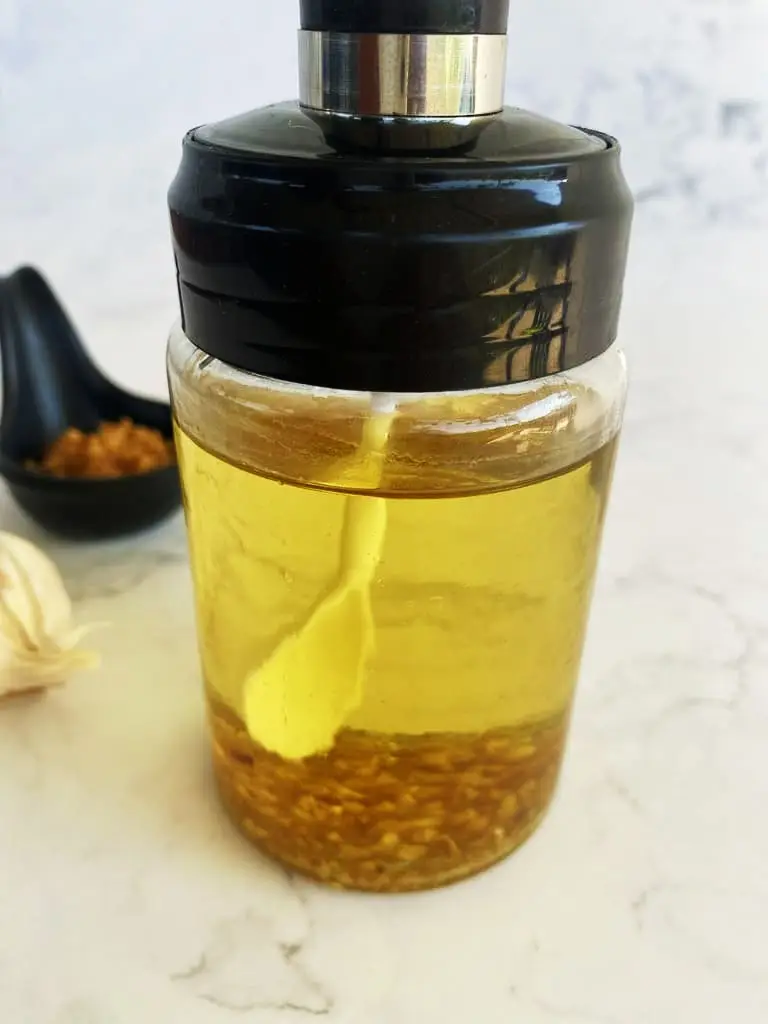
5: Store. Let everything cool completely before storing the crispy garlic flakes and oil in airtight jars.
Save the garlic oil: The oil becomes incredibly flavorful after frying the garlic. Use it just like regular cooking oil to make stir-fries, fried rice, noodles, soups, or even a fried egg.
Common mistakes
- Burnt garlic: The heat is too high or the garlic stayed in the oil too long.
- Garlic not crispy: The oil wasn’t hot enough or the garlic pieces were too large.
- Bitter flavor: Usually caused by overcooked garlic.
How to store
Store the crispy fried garlic in an airtight jar once fully cooled. Keep it at room temperature in a cool, dry place for up to 2 weeks.
The garlic oil can be stored separately or together with the garlic after cooling completely.

Thai Fried Garlic Recipe
Equipment
- Small saucepan, wok, or skillet
- Knife & cutting board
- Fine-mesh strainer or slotted spoon
- Paper towels
- Glass jar or airtight container for storing
Instructions
- Peel and finely chop the garlic into small, even pieces. Or use a mortar and pestle to finely crush it.
- Heat the oil in a pan over medium heat.
- Add the garlic and stir constantly as it fries.
- Once the garlic turns lightly golden and fragrant, immediately remove it from the oil using a strainer.
- Transfer the fried garlic to paper towels to drain excess oil. It will continue crisping as it cools.
- Let it cool completely before storing in airtight jars.
Notes
- Use the nutrition card in this recipe as a guideline.
This recipe was so helpful thank you! Crispy garlic is so yummy!