This fresh Thai chili oil recipe is easy to make with just 5 ingredients and ready in 5 minutes. With a drizzle of this homemade spicy condiment, you can quickly add heat to your favorite dishes, perfect for spicy food lovers!
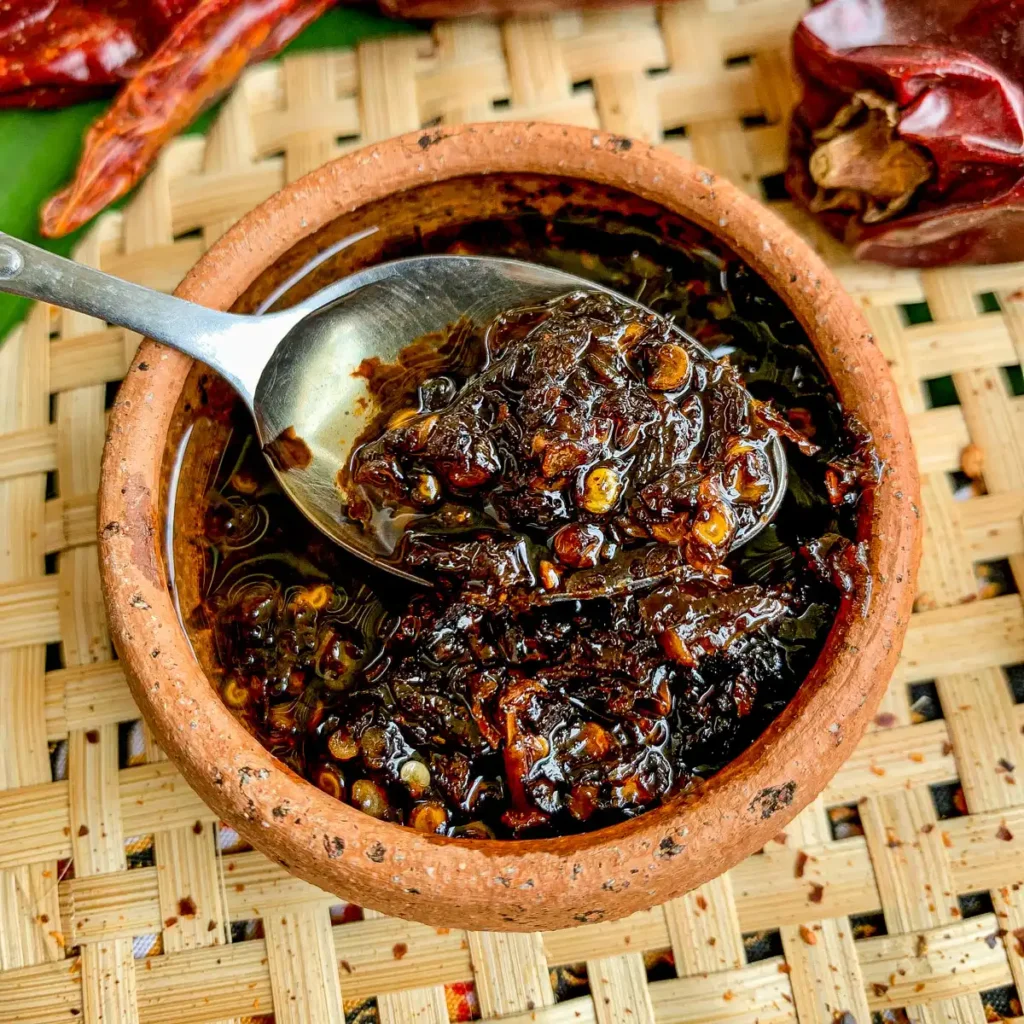
Thai chilli oil is a common condiment at street food stalls in Thailand, often placed on the corner of the table for easy access. A few other easy Thai table condiments that you can make at home include Thai chili flakes, crispy fried garlic, and Thai chili paste.
In my years of experience working in Thai restaurants, I’ve gained a lot of knowledge, and I’d love to share all the information with you. If you’d prefer to just jump straight to the instructions, you can do that below!
What is chili oil
Chili oil is a spicy condiment made by infusing oil with hot chili peppers. This spicy oil is a staple in Thai cuisine Asian cuisine, used to add heat and flavor to dishes like noodles, soups, and stir-fries.
Nam mun prik (น้ำมันพริก)
In Thailand, Thai hot chili oil is known as nam mun prik (น้ำมันพริก). Nam translates to liquid or water, but in culinary contexts, it often refers to any kind of fluid or sauce. Mun means oil or fat, and prik means chili or pepper.
Homemade Thai chili oil
My two favorite ingredients to spice up food are red pepper flakes and this spicy oil. Recently, I was making Thai beef jerky with a side of steamed jasmine rice. I was also really craving something spicy, and then this chili pepper-infused oil came in very handy.
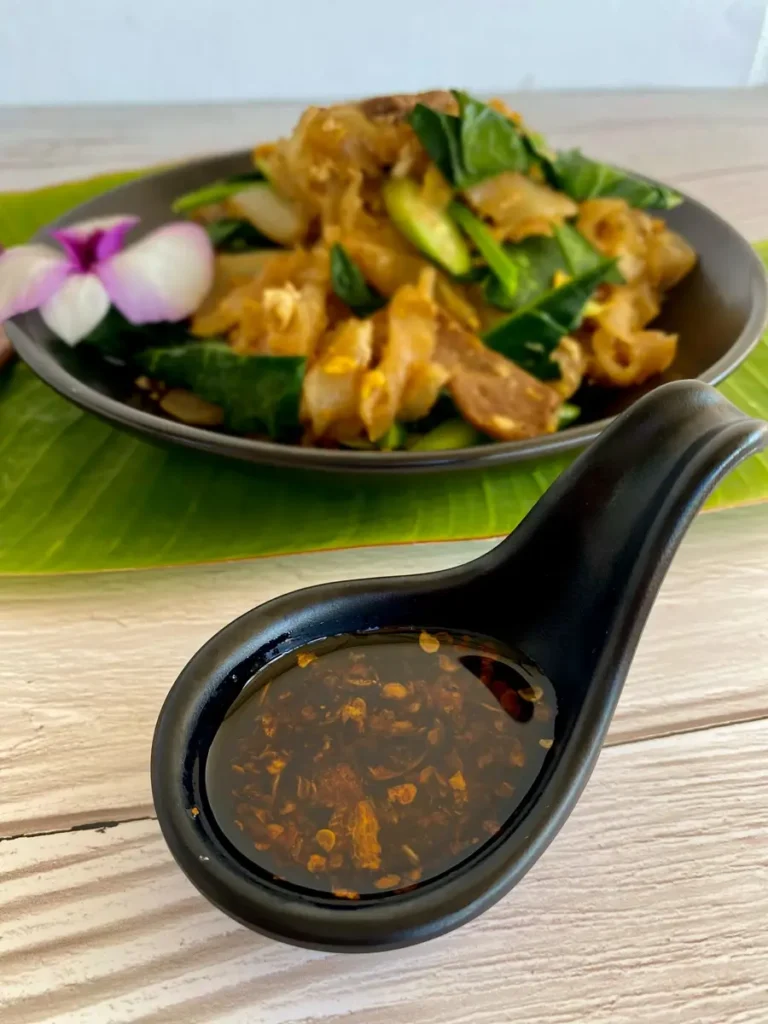
You can simply drizzle some over your food to add flavor and spiciness. That’s why it’s used daily in Thai cuisine.
It tastes great with everything, Thai noodles, Thai stir-fries, and you can even use it to make spicy sauces. You can also add it to roasted vegetables, pasta, fried rice, and much more!
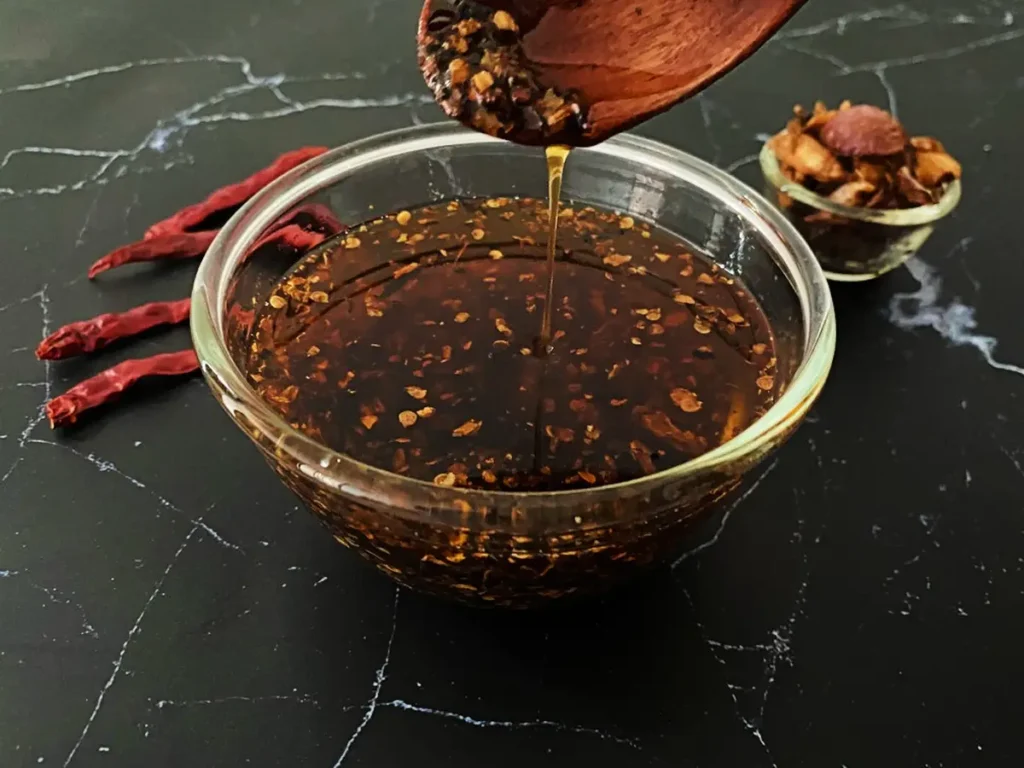
If you don’t know how to make Thai chili oil, it’s very easy. You only need a saucepan or wok, and a neutral oil. To this, we add garlic, shallots, red chili flakes, and some golden mountain sauce for extra flavor.
After you’ve made it, it’s best to store it in an airtight container like a mason jar, so it lasts a long time.
Thai vs Chinese chili oil
One major difference between my Thai-inspired chili oil recipe and the traditional Chinese version is the ingredients.
My recipe keeps it simple, using just a few ingredients to highlight the bold Thai flavors.

On the other hand, the Chinese version uses a lot of spices, like star anise, Chinese five-spice, cinnamon sticks, sesame seeds, bay leaves, ginger, and soy sauce, creating a complex and aromatic condiment.
When I make Thai chili oil from scratch, I focus on keeping it simple yet delicious!
Best oil for chili oil
It’s best to use a neutral oil with a high smoke point, allowing you to cook at high temperatures without the oil breaking down. Great options include peanut oil, vegetable oil, avocado oil, canola oil, corn oil, and sunflower oil.
I recommend avoiding oils with strong flavors, such as coconut oil, grapeseed oil, walnut oil, olive oil, and sesame oil, as they can overpower the flavors of the garlic chili oil sauce.
Choosing the best chili
Chili peppers are essential and the type of chili you choose will influence the flavor, heat, and aroma of your chili oil.
Chili oil originally comes from Chinese cuisine, where it’s often made with Sichuan peppers. These peppers are popular for their intense but not too spicy heat.
Since this is a Thai recipe, we’ll be using Thai chilies. I like using Thai dried Jinda chilies, which are popular for their rich flavor and heat. You can find these chilies at Asian supermarkets. If unavailable, feel free to substitute with other
Making red pepper flakes
A key ingredient in this recipe are crushed chili flakes. You can either get store-bought chili flakes or crush dried chilies yourself. If you want to make pepper flakes yourself, start by selecting dried chilies according to your spice level.
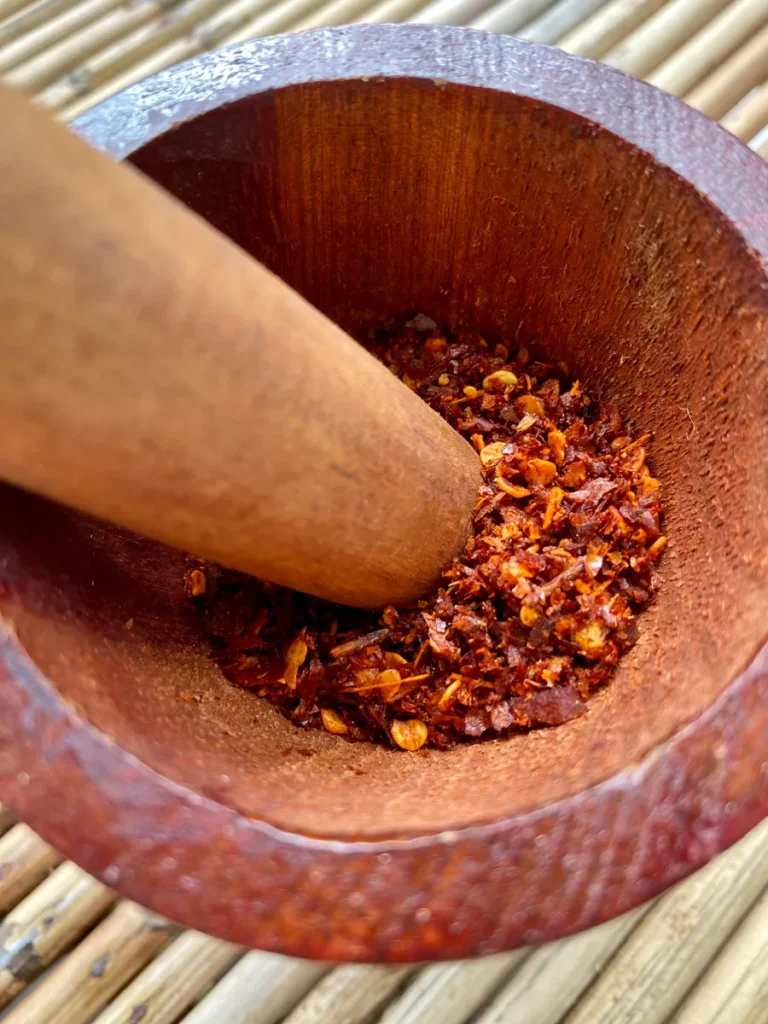
For a traditional approach, use a mortar and pestle to crush the dried chilies. This method allows you to control the texture and size of the flakes for your Thai chili condiment. Alternatively, for convenience, you can use a food processor to quickly turn the dried chilies into flakes.
- Begin by roasting the dried chili peppers. Place them in a dry pan, without any oil, and roast them until they are perfectly toasted.
- After roasting, let the peppers cool down to room temperature.
- Once cooled, crush the roasted chilies into flakes.
Ingredients
Ingredients can be sourced at Asian grocery stores and Asian markets.
The exact measurements are in the recipe card at the end of this post.

- Oil – Use a neutral oil with high smoke point, such as vegetable oil or sunflower oil.
- Garlic – Frying garlic adds a delicious garlicky aroma to this Thai chili condiment.
- Shallots – Shallots are a traditional ingredient that can be substituted with red onions.
- Thai chili flakes – Adjust the quantity of chili flakes to your personal spice preference.
- Golden mountain sauce – This is a popular ingredient in Asian cuisine, adding a salty, umami flavor. You can source this type of Thai soy sauce at Amazon.
How to make Thai chili oil
Step 1: Finely slice the garlic and quarter the shallots.
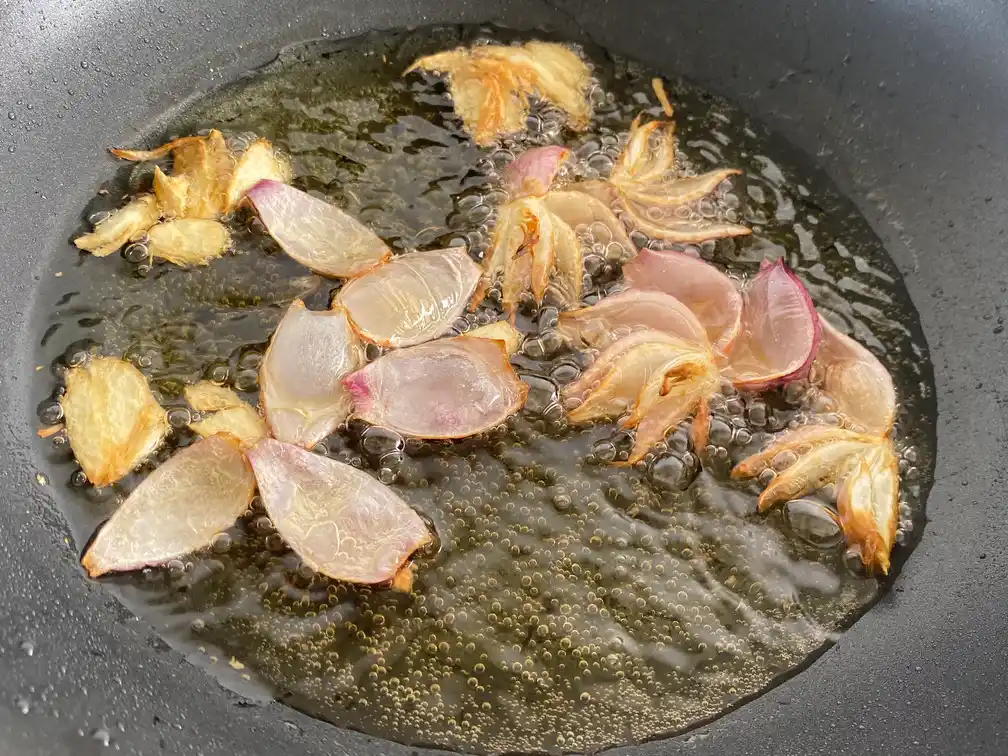
Step 2: In a saucepan or wok, heat a neutral oil over medium heat. Add garlic and shallots, frying until they turn golden brown. You have the option to either keep them in the condiment or remove them.
Step 3: Turn off the heat and add dried chili flakes and golden mountain sauce, gently stirring to blend the flavors. Let the oil cool down before transferring it to a jar.
Kitchenware
- Cutting board and a sharp knife
- Saucepan or wok
- Stirring spoon or spatula
How to use this spicy oil
Thai roasted chili oil can be used to spice up noodles, soups, and rice. Additionally, you can use it in marinades and use it to make spicy dipping sauces. You can also use it as a cooking oil for stir-fries, or stir it into salads.
Storage tips
Chili oil does not need to be refrigerated but should be stored in a cool, dark place in an airtight container, like a glass jar, away from direct sunlight and heat sources. Properly stored, chili oil can last up to six months while maintaining its best flavor and quality.
Fun facts
- Infused cooking oil with chili flakes is commonly found in Chinese restaurants as a condiment, but is less prevalent in Thai restaurants.
- While chili oil is traditionally linked with Asian cuisine, it has gained popularity worldwide. An example of this is in Italian cuisine, don’t we all love drizzling mildly spicy oil over pizzas?!
Frequently asked questions
-
How can I alter the spiciness?
To adjust the spiciness of chili oil, select chilies based on their heat levels: use milder peppers like Anaheim for less heat, or spicier ones like habanero for more kick. You can also control the heat by varying the amount of chili flakes used during the infusion process.
-
Is this recipe gluten-free?
Yes, all ingredients are gluten-free. However, it’s important to double-check the labeling of your golden mountain sauce.
Related Thai condiments
- Thai green curry paste
- Tom yum paste recipe
- Toasted rice powder
- Dry roasted peanuts
- Thai salad dressing
- Pickled garlic juice
Loved reading this Thai chili oil recipe? Please make my day by dropping a star rating and/or a comment below! Follow me on social media: Facebook, Instagram, and Pinterest.
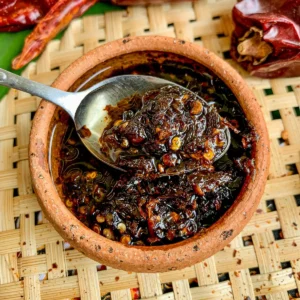
5-Minute Thai Chili Oil Recipe
Ingredients
- 1 1/4 cup oil, see notes
- 1 shallot, quartered
- 3 cloves garlic, finely sliced
- 3 tbsp + 1 tsp red chili flakes
- 1 1/2 tbsp golden mountain sauce
Instructions
- Finely slice the garlic and quarter the shallots.
- In a saucepan or wok, heat a neutral oil over medium heat. Add garlic and shallots, frying until they turn golden brown. You have the option to either keep them in the condiment or remove them.
- Turn off the heat and add dried chili flakes and golden mountain sauce, gently stirring to blend the flavors. Let the oil cool down before transferring it to a jar.
Notes
- Use the nutrition card in this recipe as a guideline.
- Oil - Use a neutral oil with high smoke point, such as vegetable oil or sunflower oil.
- Chili oil does not need to be refrigerated but should be stored in a cool, dark place in an airtight container, like a glass jar, away from direct sunlight and heat sources.
- Properly stored, chili oil can last up to six months while maintaining its best flavor and quality.




Quick and easy chili oil, thank you!