Easy Pickled Garlic Recipe (Kratiem Dong)
As an Amazon Associate, I earn from qualifying purchases. Read the full disclosure here .
This easy pickled garlic recipe comes together with just 6 simple ingredients and delivers bold flavor without being too sharp. Kratiem dong is not only a healthy snack, but also great to toss into your stir-fries, and its juice is absolutely brilliant in this Thai salad dressing.

For more Thai kitchen essentials, check out my homemade Thai chili paste, Thai chili flakes, and tom yum paste!
What is pickled garlic
Pickled garlic is created by preserving garlic cloves in vinegar, often with added sugar and salt. This pickling process softens the spicy, sharp garlic cloves, making them mellow and slightly sweet.
Kratiem dong
The Thai name for pickled garlic is kratiem dong. In Thai cuisine, both the cloves and the whole head of pickled garlic, including the peel, can be used in various dishes.
If you’re anything like me, you love garlic. And we’re all garlic lovers here, right?
I’m not shy about it – I’m the kind of person who munches on raw garlic cloves, especially when they team up the spiciness of pork larb and ground beef larb.
I know raw garlic might not be everyone’s idea of a good snack, but I got a taste for it from a young age, thanks to my grandmother. She always says it has lots of health benefits and made me eat it raw since I was just a kid.
In our family, homemade pickled garlic is a staple and a must-have for our shared meals. It’s not just our family, it seems to be a big thing in my whole village. Thai people have a love for pickled things – pickled fruit, pickled shallots, you name it.
This pickled garlic will stay good in your fridge for months, so you can go ahead and make a big batch to save time during your busy weekdays. It’s easy and simple, beats store-bought, and is perfect for any home cook!
Easy way to peel garlic
Here are two easy ways to peel garlic for when you need a lot of it:
Method 1: Soak in water
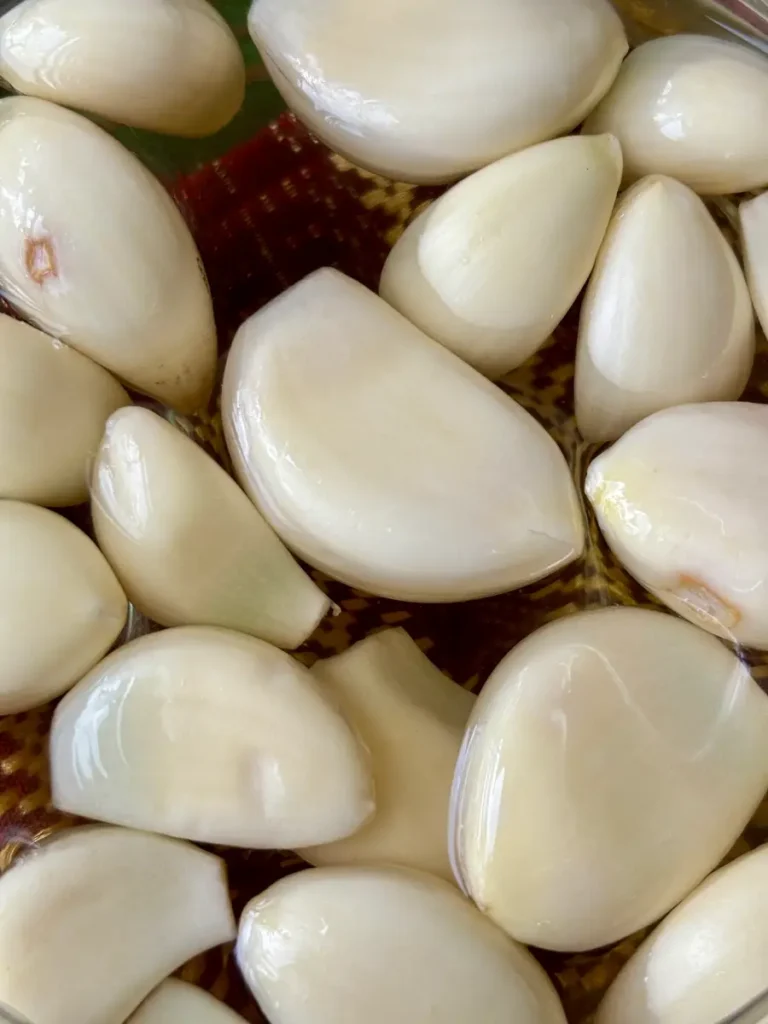
- Start by cutting off the bottom of the garlic head with a sharp knife. Then gently separate the cloves.
- Put all the garlic cloves in a bowl, add a tablespoon of salt, and fill it with water. Let them soak for about an hour.
- After soaking, the garlic peels will come off with ease.
Method 2: Shake it off
- Begin by cutting off the bottom of the garlic head and separating the cloves.
- Place the garlic cloves in a jar, close the lid tightly, and give it a good shake.
- Most of the cloves will separate from their peels with this quick and easy method. It’s perfect when you only need to peel a few cloves.
The first method is the one we used in our Thai restaurant for when we had to peel loads of garlic at once, like weekend days. The second method is perfect when you only need to peel a few cloves.
Adding your garlic cloves into boiling water is another option, but this reduces its nutritional value.
Ingredients
Ingredients can be sourced at Asian grocery stores and Asian markets.
The exact measurements are in the recipe card at the end of this post.
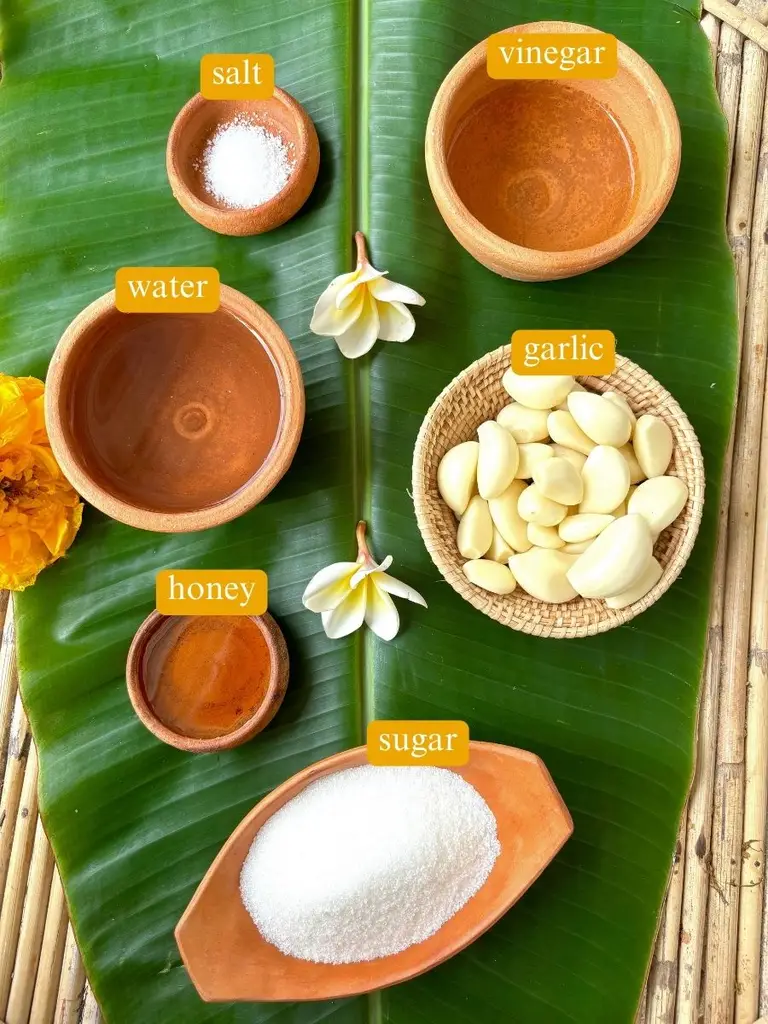
- White vinegar – White vinegar acts as a preservative, ensuring your pickled garlic stays fresh and safe to eat for months. The acetic acid in vinegar is what gives pickled foods their long shelf life.
- White sugar – White sugar adds a subtle sweetness but also helps in the preservation process. Additionally, it creates an environment less hospitable to harmful bacteria.
- Honey – Honey is perfect for adding that distinct rich, floral sweetness. It also adds a smooth, slightly thick consistency to the brine and contributes to the longevity of your pickled garlic.
- Water – Water dilutes the vinegar to a palatable acidity level and helps in evenly distributing the flavors of the added ingredients.
- Garlic – Pickling garlic softens its sharp bite, leaving it with a tender texture that’s still full of flavor, but not as overwhelming.
- Salt – Salt is crucial for its antimicrobial properties, aiding in preservation. It helps to draw out water from the garlic, concentrating flavors and helping to maintain a crunchy texture. Kosher salt, sea salt, or table salt, anything can be used here.
Cooking instructions
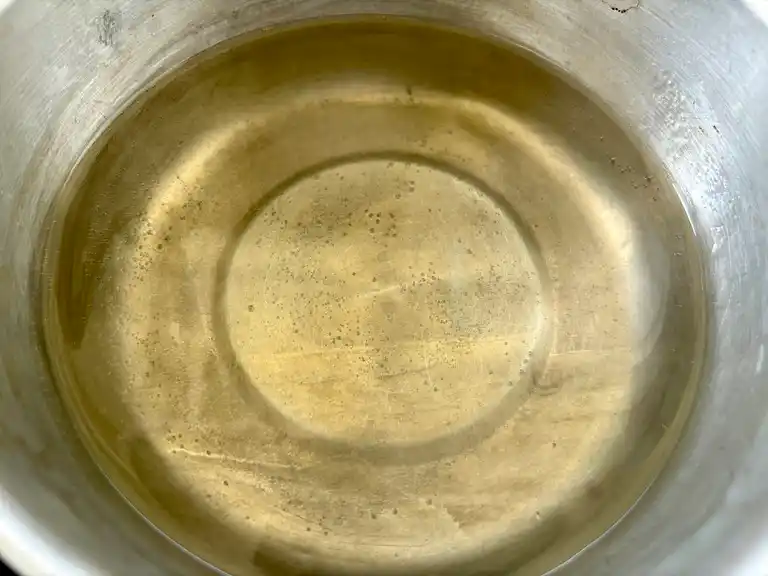
Step 1: Prepare the pickling brine by mixing water, vinegar, sugar, and salt in a pot. Heat it to a boil over medium heat, then reduce to a simmer until the sugar and salt completely dissolve. Remove from the heat and let the brine cool to room temperature.

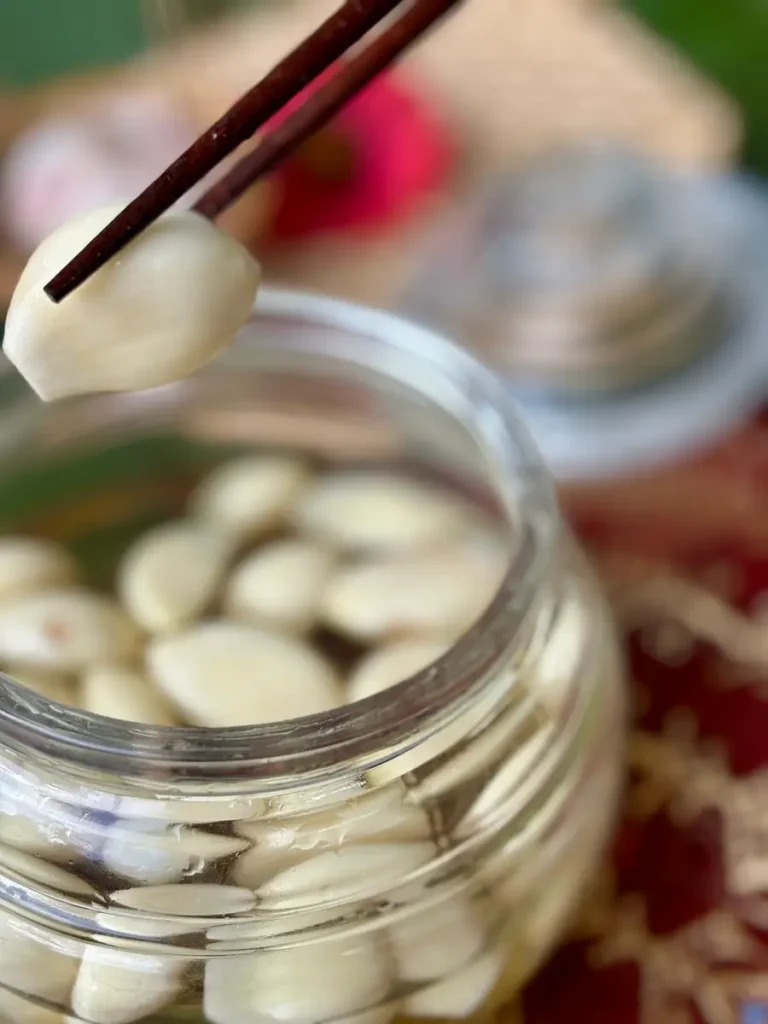
Step 2: Pour the cooled brine into a glass jar, then stir in the honey. Add the garlic cloves and seal the jar. Store it in the refrigerator (or out in a dark place), allowing the garlic to pickle for at least a few weeks, so the flavors can fully develop. The garlic flavor will still be quite strong after one week, but it will gradually mellow over several weeks of the pickling process.
Kitchen tools
- Glass jars with tight-fitting lid: The best jars for pickling garlic are mason jars and weck jars. They’re airtight, non-reactive, and transparent.
- Cutting board and a sharp knife for prepping your garlic
- Measuring spoons and cups for measuring your ingredients
- Mixing bowl for soaking garlic cloves if needed
- Saucepan to combine the brine ingredients
Tips for pickling garlic
Fill and seal properly: Fill jars to just below the rim and ensure the lid is tightly sealed to prevent air from getting in.
Balance the brine: A good balance of vinegar to water ratio is crucial. Too much vinegar can overpower the garlic, and too little may not preserve it properly.
Add flavors: While not traditionally Thai, you can add fresh herbs and spices to your brine. Fresh dill, thyme, and mustard seeds are great for extra flavor. Try red pepper flakes and black peppercorns for added spice.
Fresh cloves: Use fresh, firm garlic for the best texture and flavor.
Vinegars: Feel free to experiment with flavors by trying apple cider vinegar, white wine vinegar, and rice vinegar.
What to do with Thai pickled garlic
Here’s how you can use pickled garlic in my authentic Thai recipes:
- Make dips and pastes: Try my popular tom yum paste, vegan roasted chili dip nam prik noom, and spicy Thai hot sauce for homemade sriracha.
- Add them to stir-fries: Pad kratiem is a Thai garlic pepper chicken dish, and you can absolutely toss in as much garlic as you want to. Make chili garlic noodles. Pad kra pao is a fragrant Thai basil stir-fry and garlic is one of its key ingredients.
- Use them in salads: My spicy Lao cucumber salad is made with fresh garlic, and you can switch it up with pickled garlic.
- Eat them raw
How to store
Store pickled garlic in your refrigerator to keep it good for several months. Remember to make sure the garlic stays covered in the brine to avoid spoilage. Avoid storing it at room temperature to prevent the growing of mold.
Benefits of pickled garlic
Pickled garlic is good for you, and is often praised for retaining many of the health benefits of fresh garlic, such as its antioxidant properties, potential to improve heart health, and its antimicrobial and anti-inflammatory effects.
These benefits stem from garlic’s rich composition of allicin, vitamins, and minerals, which may be preserved or even enhanced through the pickling process.
Frequently asked questions
Why did my pickled garlic turn blue?
Your pickled garlic can turn blue due to a natural reaction between garlic’s sulfur compounds and the acidity of the vinegar or brine. This color change is purely cosmetic and doesn’t affect the safety or flavor of your pickled garlic. It’s a common occurrence and nothing to worry about.
Where to buy pickled garlic?
Pickled garlic can be found in various locations. Check your local grocery stores, especially in the condiments section near pickles and olives. Ethnic food markets, particularly Asian or Middle Eastern stores, are also good places to look.
Authentic Thai pantry staples
- Thai red curry paste
- Toasted rice powder
- Dry roasted peanuts
- Crispy fried garlic
- Prik nam pla
- Thai chili oil
Loved reading this easy pickled garlic recipe? Please make my day by dropping a star rating and/or a comment below! Follow me on Facebook, Instagram, and Pinterest.
Easy Pickled Garlic Recipe (Kratiem Dong)

Ingredients
- 1 cup water
- 1/2 cup + 2 tbsp white vinegar
- 1/2 tbsp salt
- 3/4 cup white sugar
- 1 cup garlic, peeled, as needed
- 3 tbsp honey
Instructions
- Prepare the pickling brine by mixing water, vinegar, sugar, and salt in a pot. Heat it to a boil over medium heat, then reduce to a simmer until the sugar and salt completely dissolve. Remove from the heat and let the brine cool to room temperature.
- Pour the cooled brine into a glass jar, then stir in the honey. Add the garlic cloves and seal the jar. Store it in the refrigerator (or out in a dark place), allowing the garlic to pickle for at least a few weeks, so the flavors can fully develop. The garlic flavor will still be quite strong after one week, but it will gradually mellow over several weeks of the pickling process.
Notes
- Use the nutrition card in this recipe as a guideline.
- Feel free to add more or less garlic to your need.