
This homemade brown sugar syrup is an easy 3-ingredient sweetener with a rich, caramel-like flavor that takes just 5 minutes to make. It’s especially good in coffee, boba, milk tea, and pancakes, and you can keep a jar ready in the fridge whenever you need it.
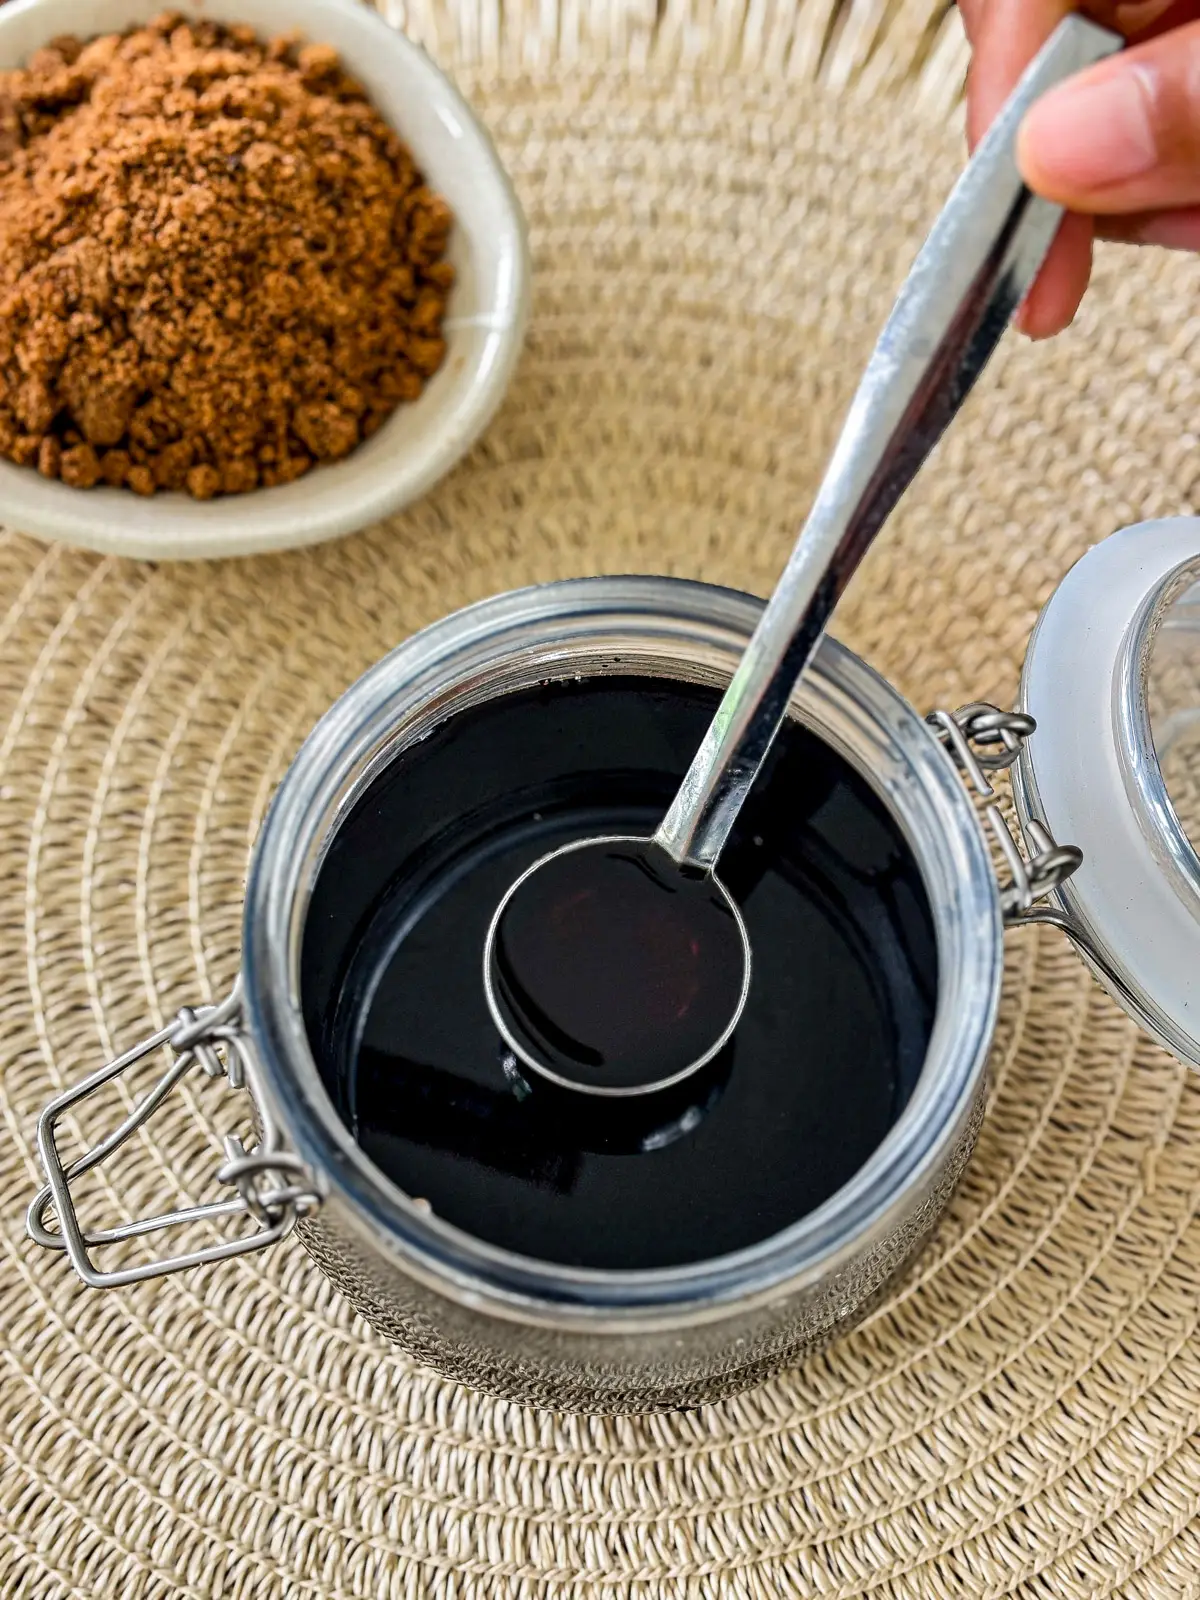
About this brown sugar simple syrup
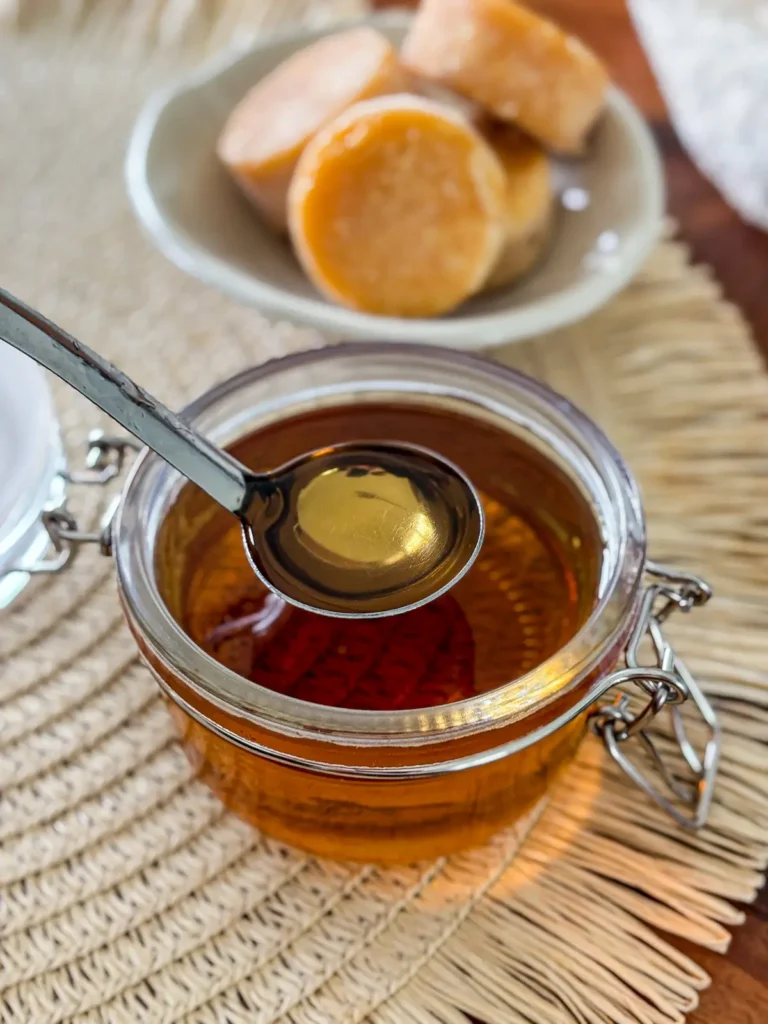
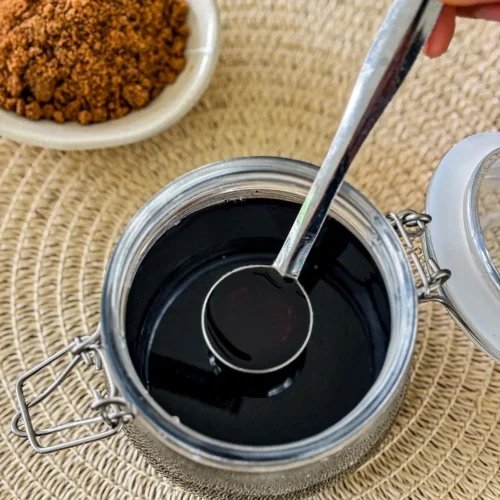
Brown sugar syrup is a simple liquid sweetener made by dissolving brown sugar in water. It’s similar to regular simple syrup, but the brown sugar gives it a deeper, slightly caramel-like flavor.
I use it most often in coffee, boba drinks, and milk tea. In Thailand, brown sugar syrup is also useful for sweetening drinks because you can stir it straight into a cold glass without waiting for sugar to dissolve.
It’s also great in tea, cocktails, pancakes, waffles, and desserts. Because it’s already liquid, you can stir a spoonful straight into a cold drink without ending up with sugar sitting at the bottom of the glass.
Learn Thai cooking step by step
My cookbook is a combination of authentic Thai recipes and Western dishes cooked with Thai flavors and ingredients. It’s a great starting point if you’re new to Thai cooking or want to cook it more often.
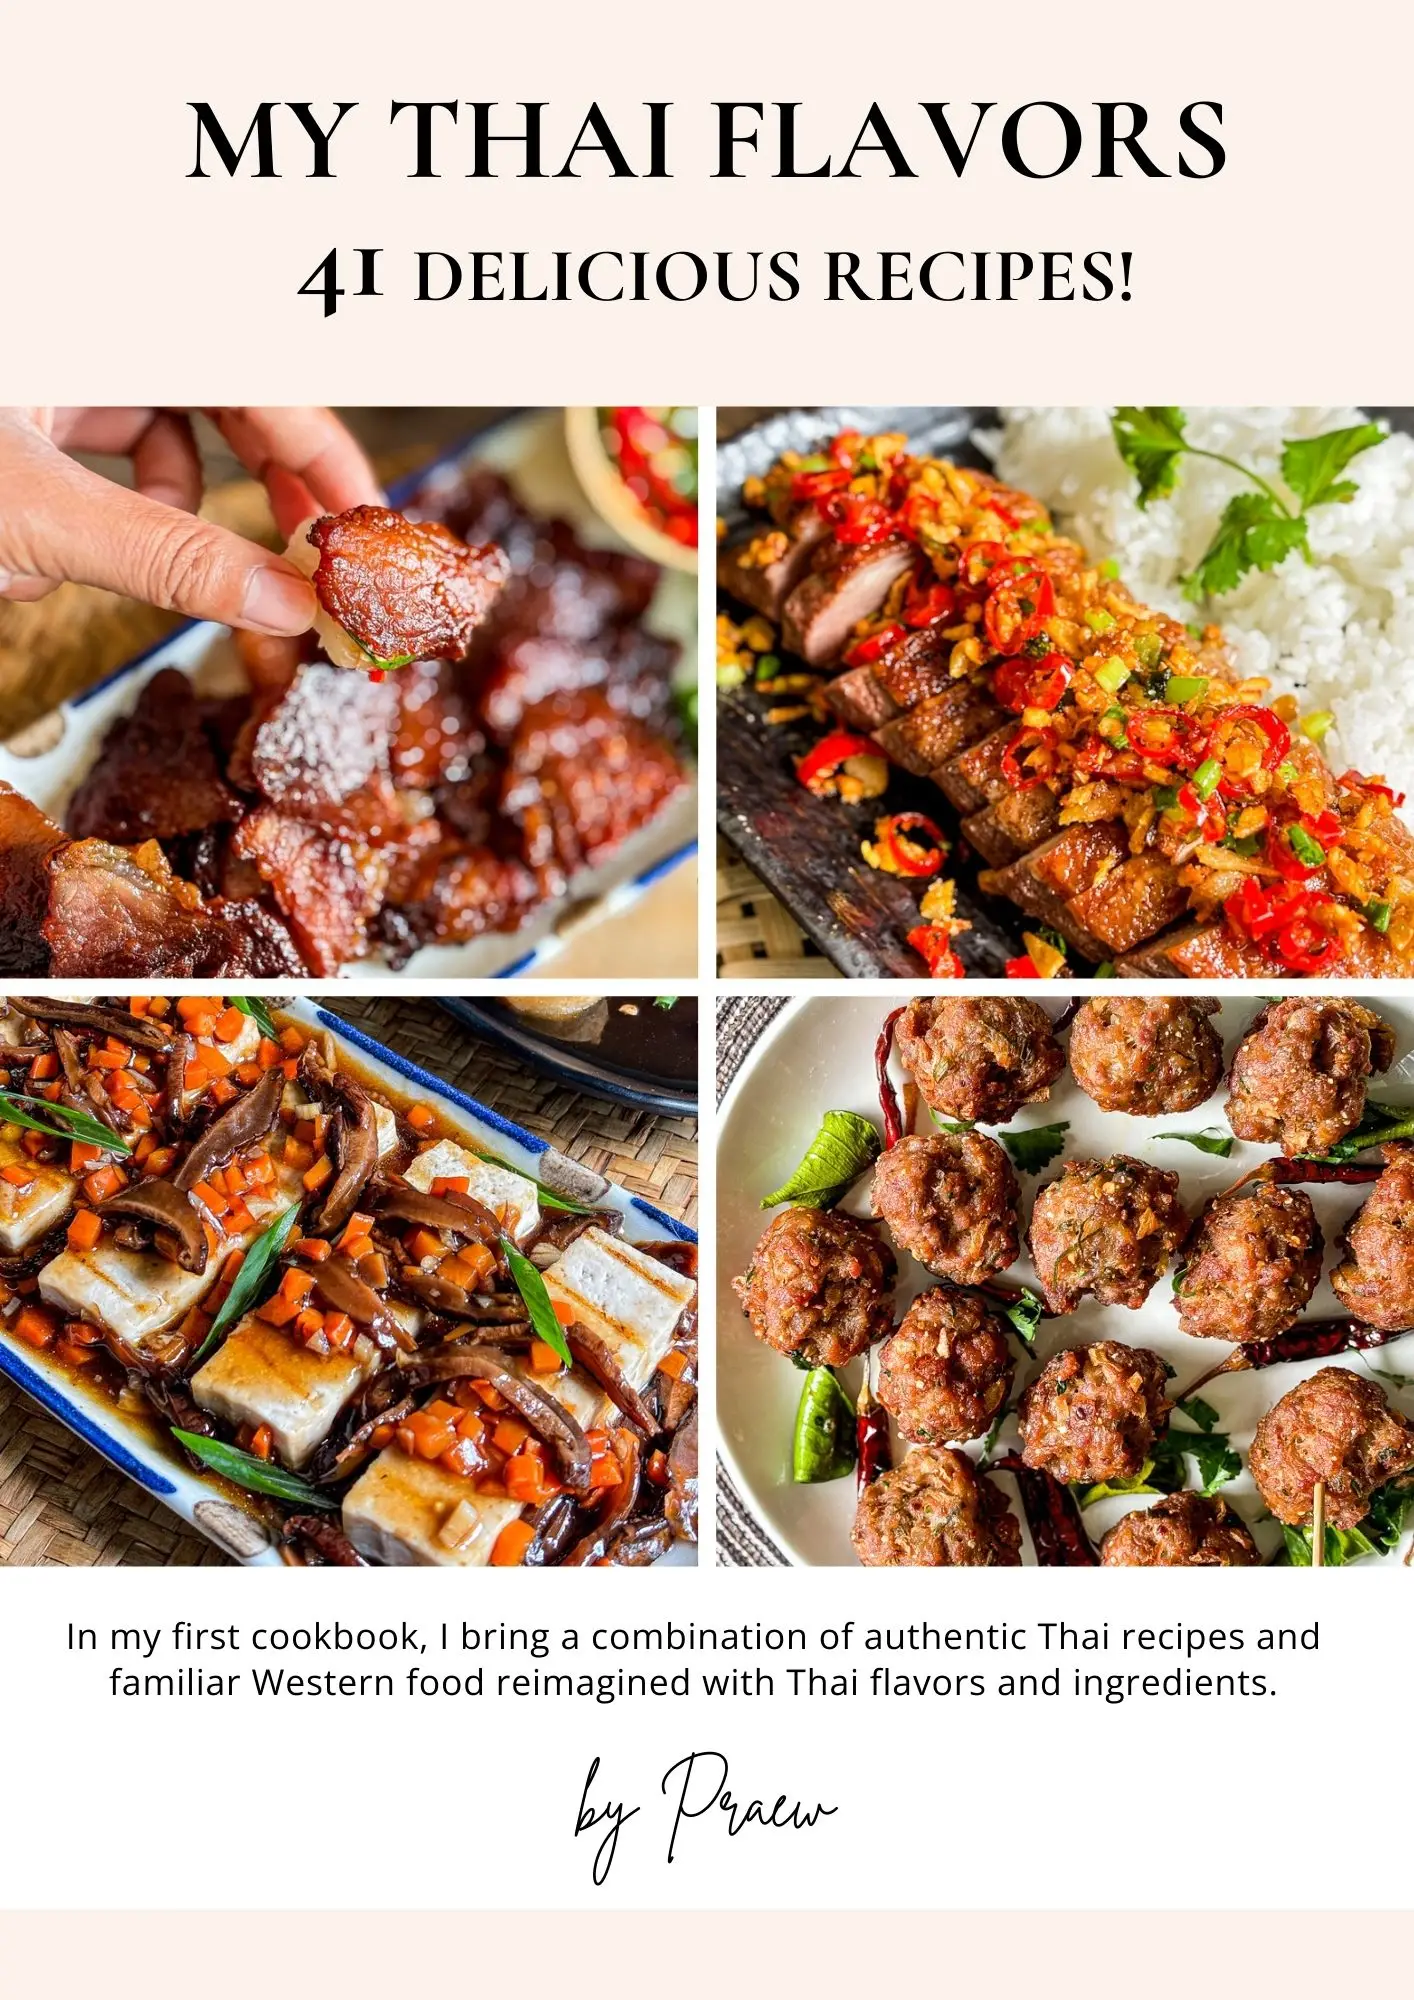
Ingredient notes & substitutes
You only need three ingredients to make this syrup. Head to the recipe card at the bottom of the post for the exact measurements.
- Brown sugar: You can use either light or dark brown sugar. Light brown sugar makes a milder syrup with a subtle caramel flavor, while dark brown sugar has more molasses and gives you a deeper, richer flavor. You can also mix the two if you want something in between.
- Water: Regular drinking water works perfectly.
- Vanilla extract (optional): Just a little adds warmth and rounds out the brown sugar flavor. It’s optional, but I like adding it when I’m making the syrup for drinks.
I use a 1:1 sugar-to-water ratio for this recipe. It makes a fairly thin syrup that pours easily and mixes into cold drinks without needing much stirring.
How to make brown sugar syrup
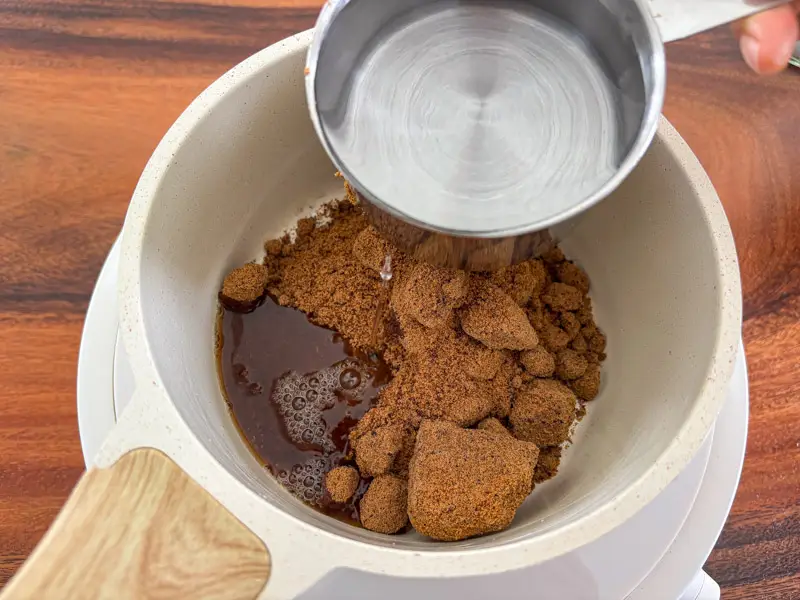
1: Combine the sugar and water. Add the brown sugar and water to a small saucepan. Place it over medium heat and stir until the sugar has completely dissolved.
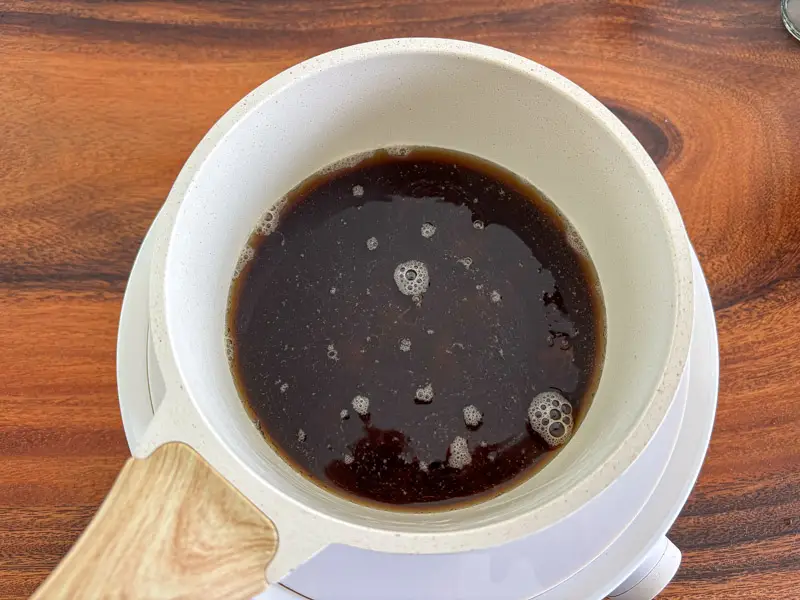
2: Simmer. Once the sugar has dissolved, bring the mixture to a gentle simmer. Cook for about 5 minutes, stirring occasionally.
You don’t need to boil it hard or cook it until it’s thick. The syrup will seem fairly thin while it’s hot, but it thickens slightly as it cools.
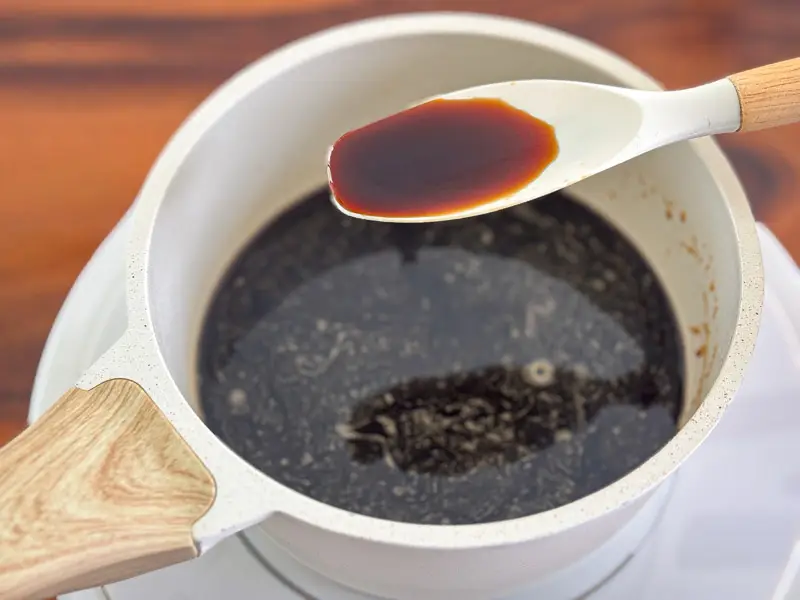
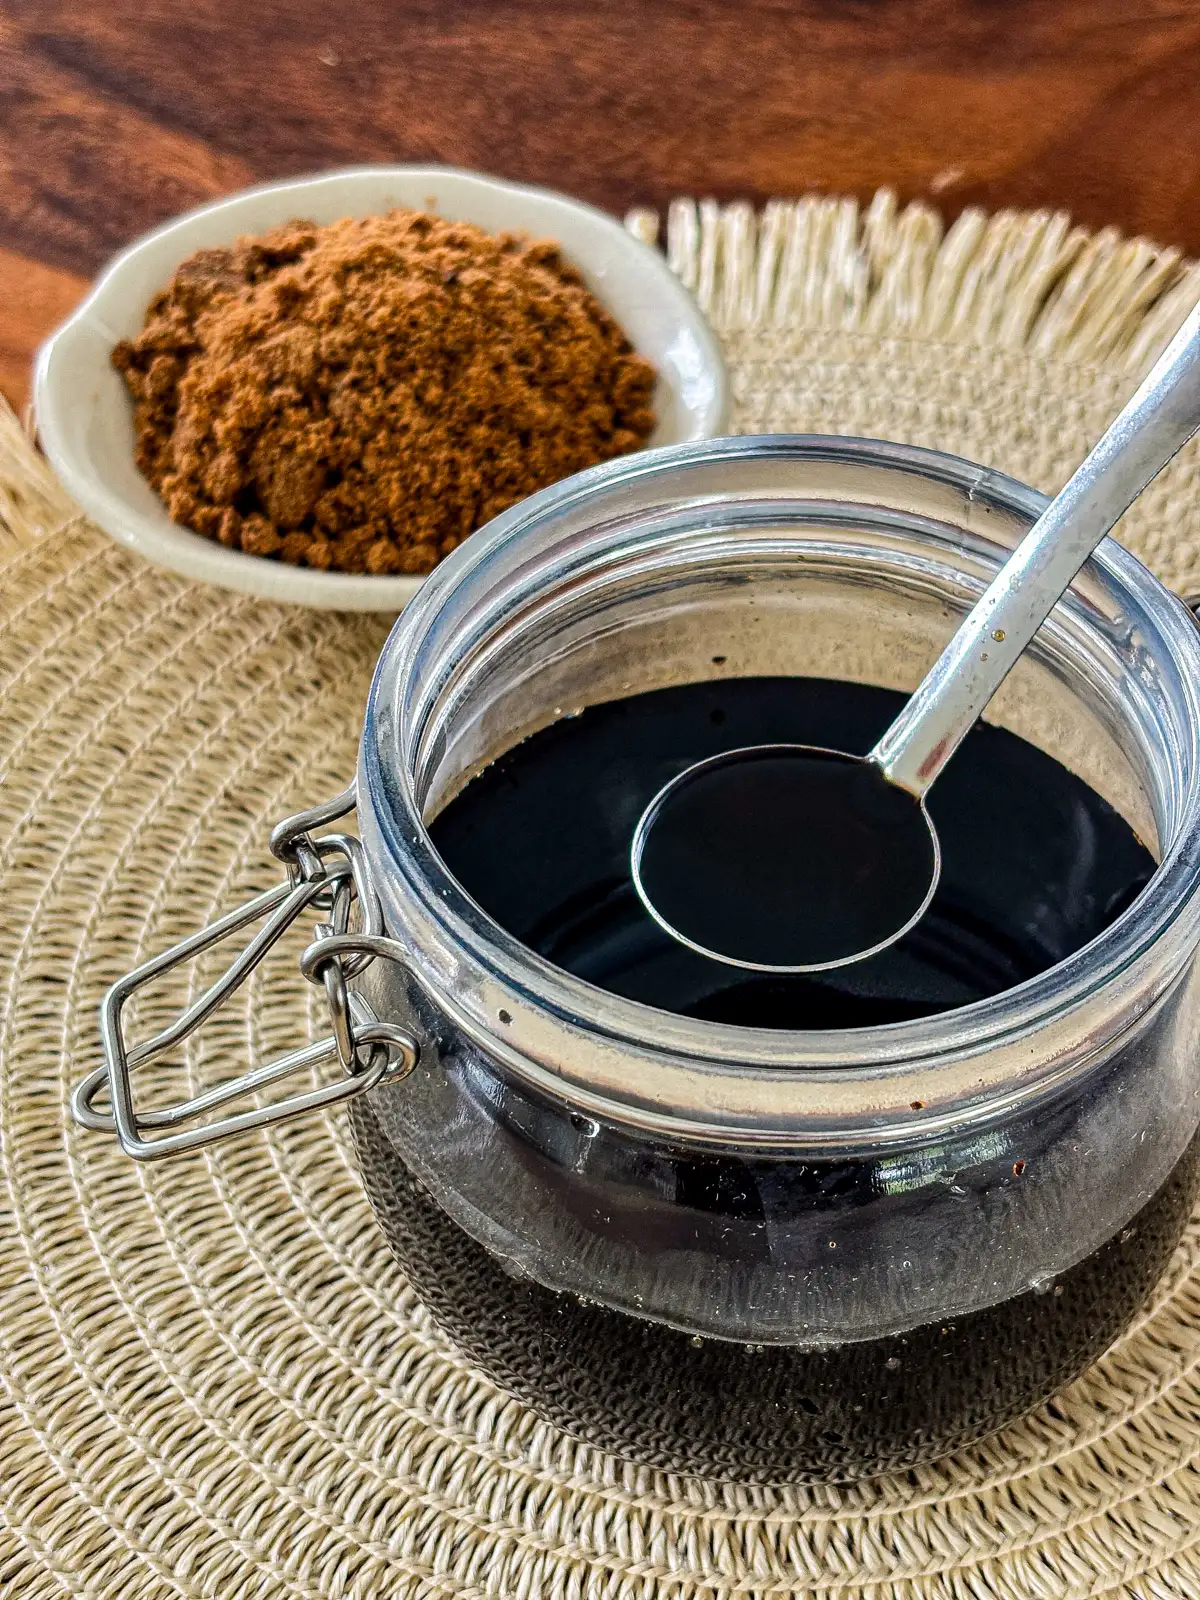
3: Add the vanilla. Remove the saucepan from the heat and stir in the vanilla extract. Let the syrup cool completely before transferring it to a clean jar or bottle.
How to use
Once you have this in the fridge, there are plenty of easy ways to use it.
- Coffee: Stir it into hot or iced coffee for a deeper sweetness and a little caramel flavor.
- Boba: Use it in brown sugar milk, milk tea, or your favorite boba drink.
- Milk tea: Sweeten Thai tea, black tea, or homemade blue milk tea without waiting for sugar to dissolve.
- Pancakes and waffles: Drizzle it over pancakes or waffles instead of maple syrup.
- Tea: Add it to hot or iced tea for a richer sweetness.
- Cocktails: Use it anywhere you would normally use simple syrup when you want a brown sugar flavor.
- Desserts: Drizzle it over ice cream, fruit, or other desserts.
How to store
Let the syrup cool completely, then transfer it to a clean, airtight jar or bottle. Keep it refrigerated and use within 2 weeks.
Always use a clean spoon when taking syrup from the jar. If you notice mold, fermentation, bubbling, or an unusual smell, discard it.
I prefer making a batch small enough to use regularly rather than keeping a large amount in the fridge for months.


Homemade Brown Sugar Syrup Recipe
Equipment
- Small saucepan
- wooden spoon or spatula
- Clean jar or bottle for storage
Ingredients
- 1 cup brown sugar
- 1 cup water
- a few drops vanilla extract, optional
Instructions
- Combine: Add the brown sugar and water to a small saucepan.
- Dissolve: Heat over medium heat, stirring until the sugar has completely dissolved.
- Simmer: Bring to a gentle simmer and cook for 5 minutes, stirring occasionally.
- Finish: Remove from the heat and stir in the vanilla extract. Let cool completely before transferring to a clean jar or bottle.
Notes
- Use the nutrition card in this recipe as a guideline.